Okay, so I'm a little it late with the trouser posts :(! I mean I only sewed the darn muslin (toile) out of medium weight calico on 16th of this month, and 2 weeks later I post about it... my bad!
I must be quite strange - because I quite enjoy all the tracing out onto fresh paper of the Burda Style Magazine patterns, and then transfering them onto the fabric is quite a soothing, calming pastime for me too (I gather most people find these stages tricky and tedious?).
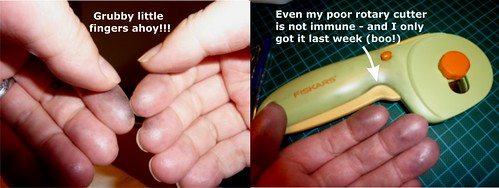
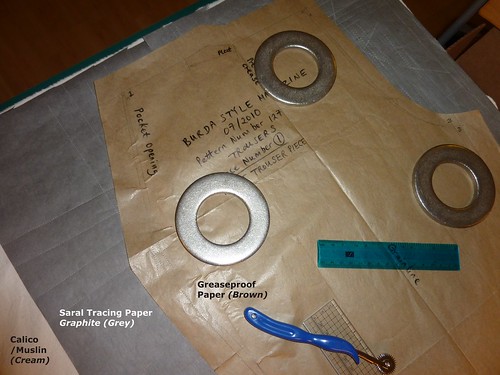
Anywho... I had fun with my pencils, rulers, french curves etc. 'cept I managed to get grubby marks from my Saral Transfer Paper all over my fingers & consequently my brand new 60mm rotary cutter :( I was used the graphite (grey) colour transfer paper which was sandwiched between the pattern ontop and the fabric at the bottom. I lurve this transfer paper - it's the wax free kind that quote:
"A wax free copying paper that can be washed out of fabric and a hot iron will not set the lines. The same sheet can be used over and over again. 12" wide, 12' roll."
I use my little tracing wheel and away I go! I just cut myself of a long piece (about 80-90cm long) and roll it back up inside ofthe ox again when I'm finished. When I bought the grey one I also picked up the white paper too - though 've not tried that colour out yet, but it should work nicely for black and other dark coloured fabrics.
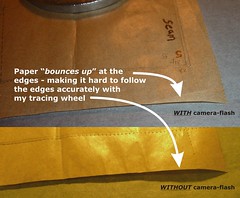
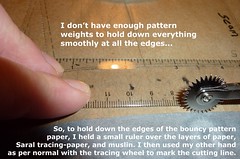
Now, I don't own as many pattern weights as perhaps I'd like to (I'm working on that situation if you know what I mean ;) !) - so there are not always enought of them to place near all of the pattern piece edges when I'm tracing the markings/cutting lines etc. onto the fabric. So, to hold down the edges of the bouncy pattern paper, I held a small ruler over the layers of paper + Saral transfer paper, and fabric. I then used my other hand as per normal with the tracing wheel to mark the cutting line. This way I got everything marked out as accurately as I possibly could.
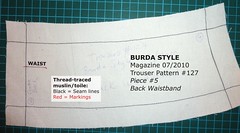
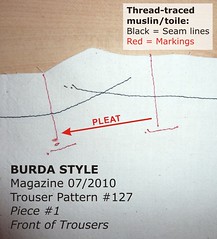
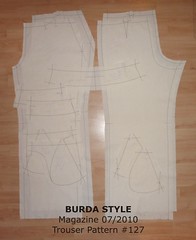
I then cut out the fabric, pressed the pieces carefully and *thread traced the seam lines and pattern markings onto the fabric.
I used black thread (machine basted) for the seam lines, red thread to show pattern markings (e.g. the pleats, waist-line etc.). I then machine basted the muslin pieces together with green thread. The idea for the different colours being that when you have to unpick you stitches - you only unpick the right bits of thread LOL! (NB: For any altered/tweaked seam lines I plan to trace those out in yet more new colours - as I have some weird colours lurking in my stash like orange, blue and purple).
When sewing the thread traced lines I decided to start with the straighter-lines, followed by the gentle curves, then lastly the more deeply curved lines (which I stitched in a more controlled slower manner than the straight lines). My logic being that I'd get the hang of things on the easier bits and work my way up to the harder stuff - and it worked nicely I'm pleased to say :)
When sewing along the seam lines etc., I decided to start with the straighter lines, followed by the gentle curves, then lastly the more deeply curved lines (which I stitched in a slower, more controlled manner as they were harder to sew). My logic being that I'd get the hang of things on the easier bits and work my way up to the harder stuff - and it worked nicely I'm pleased to say :)
Next post = Part #2... Sewing It Up!
*Thread Tracing: I did this à la style of the "Muslin Refined" article by Susan Khalje in Threads Magazine Issue 151, Oct / Nov 10, Gertie covers Susan's method in this post here) or you can see how Sunni thread traced the muslin here.

No comments:
Post a Comment
Hi there! If you would like to be notified by email when I (or anyone else) replies to your comment please click the 'Subscribe by email' link under this comment box.