Pages

Monday, 30 December 2013

Crafty Christmas Gift Making - Part II


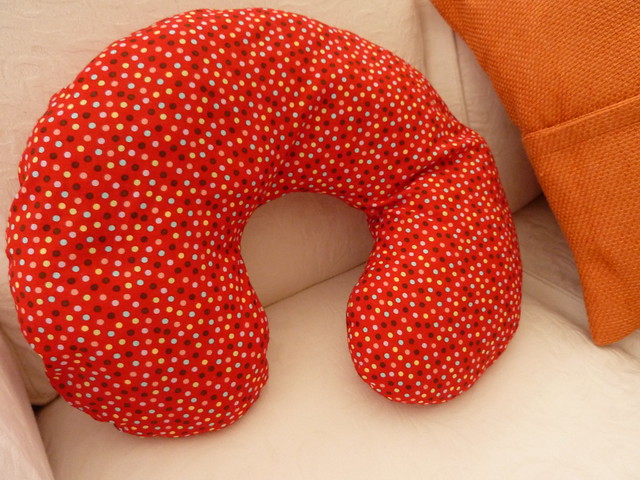
Dolly for my 2½ year old Niece  Neck Pillow for Grandma
LEFT: Doll for my Niece,                              and RIGHT: Neck Pillow for my Grandma

Further to my last post, I managed to squeeze in some more Christmas gift making last week.

Using a second-hand sewing machine I'd purchased back in summer on eBay (which is now permanently housed at my non-sewing Mother-in-Law's house) I was able to knock-up a quick Neck Pillow for my lovely 98 year old Grandma.

The pattern is FREE from BurdaStyle.com: Neck Pillow 12/2010 #143


The PDF instructions ask you to draft and draw the pattern yourself following a smaller-scale diagram they provide onto a 5 x 5 cm grid of squares. So... being short on time I totally cheated (LOL!); instead I grabbed a screen-shot  of the grid and pasted it into my 'CorelDRAW X3' software, and then I enlarged it to the correct size and I printed the pattern out over 2-A4 sheets of paper = 5mins work and job done!

It took me around 40mins to make (I omitted to add the piping - saving much time) including time to stuff with the innards of an el-cheapo *pillow I'd bought a few years ago at Tesco (*originally destined to be the stuffing in a Duct-Tape-Dummy which I never got around to making haha!).

I also found time to finish-off the Dolly, plus sew a cute dress + knickers for said doll for my 2½ year old Niece (I've been a v. bad Auntie as Dolly had been sitting in a bag sans coiffure since I first started the project as a 1st birthday pressie - eekk, better late than never I guess!).
Wee Wonderfuls - the Kit, Chloe & Louise Pattern
The pattern I used for the dolls is by Wee Wonderfuls - called the Kit, Chloe & Louise Pattern. The PDF includes full details to make the dolls, clothing and hair.

I bought the wool for the dolls hair back in July 2012 from Ridley Road Market. And, because I was pressed for time and I couldn't for the life of me find the original PDF instructions... I used these great tutorials I found to make the "hair" for the dolly: Waldorf Doll Hair Tutorial and Waldorf doll hair: centre back seam clarified by Meike of Crafty Sheep blog

To make the dress I drafted a pattern using paper wrapped/draped around the doll - following the approximate pattern-shapes found in The Itty Bitty Baby Dress Pattern by Made-by-Rae. And, now I have the pattern pieces I can make more dresses easily in the future! The dress is fully-lined, plus I made dolly some jersey-knickers too (so she's properly attired LOL!).

For the doll's face I embroidered the eyebrows in black thread, and the mouth in red. I used some Dylon pens to create the eyes (pressing them on a hot setting to fix-them).

To view more photos of the doll's construction see this Flickr slide-show below :) :


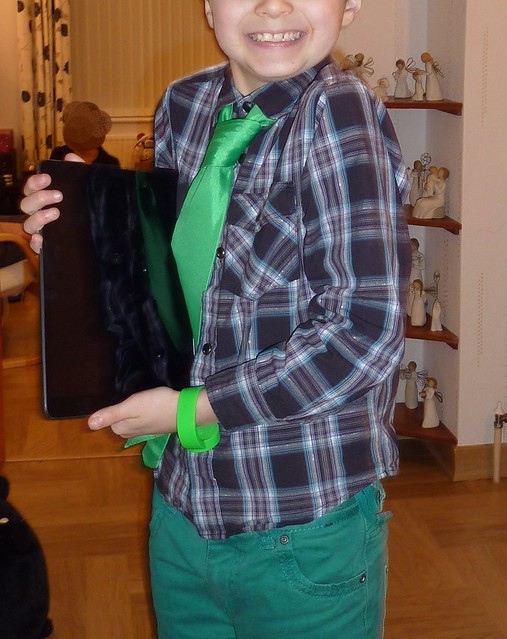
The 3 Boy's Ties I'd made for Hubby's 9 year old Nephew went down very well. He wore the green-one all day on Boxing day (photographic evidence below - although the happy grin on his face might have more to do with playing all-day on an iPad hehe!).


Boy's Ties - Christmas 2013

And Mum-in-Law and Dad-in-Law loved their Tablet-Pillows too.


Sunday, 22 December 2013

Crafty Christmas Gift Making - Part I


UPDATE: Please also see also Crafty Christmas Gift Making - Part II :)

Like last year I've managed to squeeze in a couple of sewn-by-me gifts for family :) 
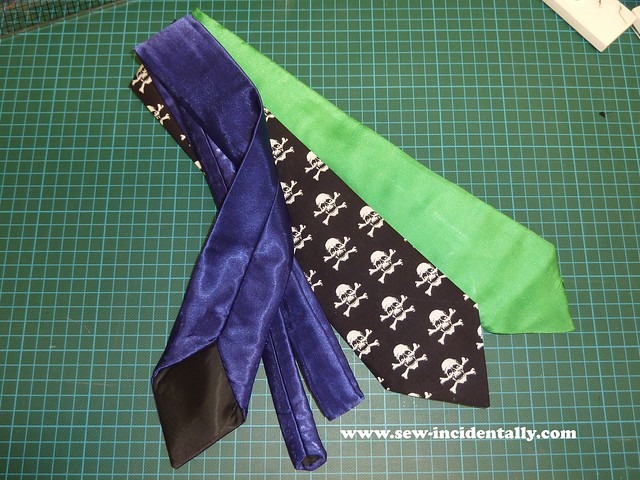
Boy's Ties - Christmas 2013
Neck-Ties made for Hubby's Nephew
Earlier this year Hubby's 9 year old nephew requested 2 ties (specifically in blue and green), but I couldn't resist adding a third one too in a cool black and white skull-print cotton. I'm sure it'll appeal to a young man very well ;)!

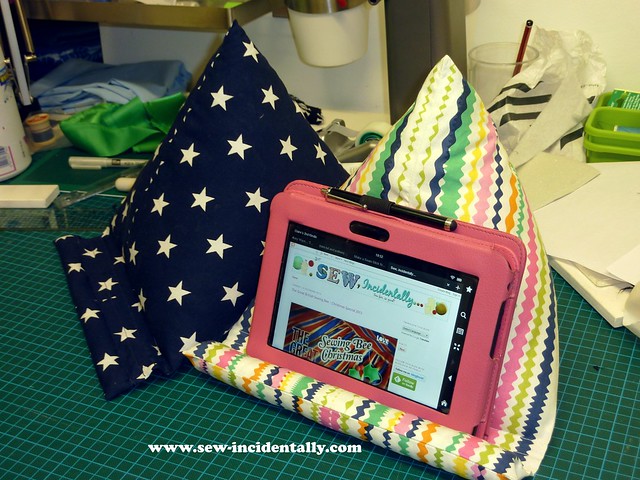
I also made some pillows/cushions for my parents-in-law. They're in 100% cotton and are so they can use them to rest their tablet's on - so your hands 'n' wrists don't get tired. They're great to pop onto your lap on the sofa. You could also use them as a stand for reading books in bed I'd bet and they'd work for iPads or other tablets too of course :) 

I also reckon if these were made in something wipe-able (PVC Oilcoth perhaps?) that they'd make a suitable gift for someone in hospital or a care-home... as they could then be wiped-down with a cloth + anti-bacterial/anti-viral cleaning liquids (as cotton would probably need to go into a washing machine too often to be manageable in hospital etc.)


Tablet Pillow - Christmas 2013
Tablet Cushions made for MIL & FIL
For the ties, I used this fab FREE pattern & tutorial The Totally Terrific Ties Tutorial  from Fishsticks Design Blog . The tie come in 3 different sizes by age-group (v. handy!). I used the 8-14 years old size.

The green and blue ties are made from some 'el cheapo polyester lining fabric (lined with some black lining-fabric I had already in my stash). They were super-slippery to work with. I was worried that they'd not have enough body and be too flimsy, so I interlined them with a single layer of Calico (Muslin) cotton. Lots of hand basting was used, and I also overlocked (serged) the long raw-edges of the fabric (as per page 4 of the tutorial) which helped greatly in managing the mega-fraying lining fabric LOL!

NECK-TIES: I made a couple of changes to the construction:-
(1)
I shortened the lining fabric-piece by 6mm in length (take out from the centre. Reason: So that the fashion-fabric would wrap a little around to the wrong/inside on the finished tie, therefore the lining would not "peek-out" onto the front.
(2) I added a horizontal loop to the inside-front of the tie (I used some cotton-tape for this, and Fray-Checked the raw edges so it wouldn't unravel in the wash). Reason: To tuck the end of the tie into - so it doesn't swing out and look unslightly when worn. 
(3) I shortened the stitch-length considerable when approaching/turning-around the "points" / "corners" to reinforce them when I turned the fabric right-side-out.
(4) I used 
I used my duck-billed applique scissors to trim and grade the seam allowances on the pointed-ends of the ties to reduce bulk before turning them right-side-out.

The black cotton fabric was way easier to work with - and now that I've gotten the hang of neck-ties Hubby wants one (in the skull print!).

For the iPad / Tablet cushions I made quite a few adaptations to this tutorial: iPad Rest or Stand Tutorial. (found on BettyCrockerAss by Jen Carlton Bailly). 

TABLET-CUSHIONS: Again I made my own tweaks:-
(1)
 The original tutorial gives you a cushion approx. 6½" wide. I'd previously made one following the instructions exactly and I felt that the size was a bit too small - so I changed it up to a 10" finished size.
(2) Also, I didn't like the original's way of finishing the raw-edges at the front. I felt that the "lip" effect looked a bit untidy so I changed it. On mine the front-edge is machine-stitched first before turning right-side-out.
(3) I stuffed my cushions with the old poly-stuffing innards from a recycled cushion - as the original asks you to use dry-rice. I didn't use rice because if it gets wet it'll get mouldy (it's a foodstuff afterall!)
(4) I used a cut-up scrap of ironing-board felt/padding to create the "stop"/"lip" stuffing at the front. (The tutorial uses dry-rice again.)


Sunday, 15 December 2013

The Great British Sewing Bee - Christmas Special 2013


Image Source: Love Productions

I've just spent a lovely and very enjoyable hour watching the 2013 The Great British Sewing Bee - Christmas Special and if you missed this programme perhaps you can catch the repeat on BBC 2 at 7pm on Tuesday 17th December 2013 (except for Scotland and Wales). Otherwise I'm sure some enterprising soul will upload it onto YouTube soon.

To quote the production company's website:
"The Great British Sewing Bee returns for a Christmas special. Judges, Savile Row's Patrick Grant and sewing teacher, May Martin are re-united with this year's semi-finalists: Stuart, Sandra, Lauren and 82-year old winner Ann.  Taking inspiration from traditional sewing bees of the past, they pool their experience and talents to make everything from Christmas table linen to presents to tree decorations.
Ann makes a beautiful teddy bear, Stuart fashions a tweed satchel, Sandra creates a gardening belt and Lauren crafts a fabric doll's house."
Image Source: BBC website
The Thrifty Stitcher blog has a great post with useful links and supplies relating to the Christmas special.

So, here's my letter to Father Christmas for this year... 


Dear Father Christmas, 

Please, please, please can we have more lovely
sewing programmes on the telly for next year
and many years to come.

Many thanks Clairex


Friday, 13 December 2013

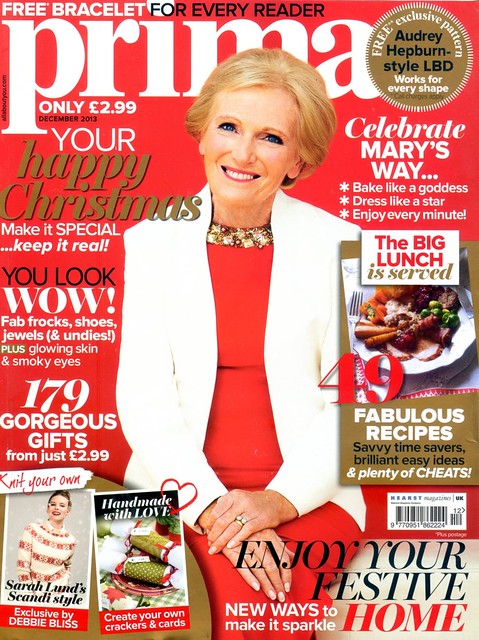
PRIMA Pattern, December 2013 - Classic Little Black Dress


It's the final issue for this year, and the December 2013 PRIMA Magazine pattern is
still currently available to order by phone until the end of this month.

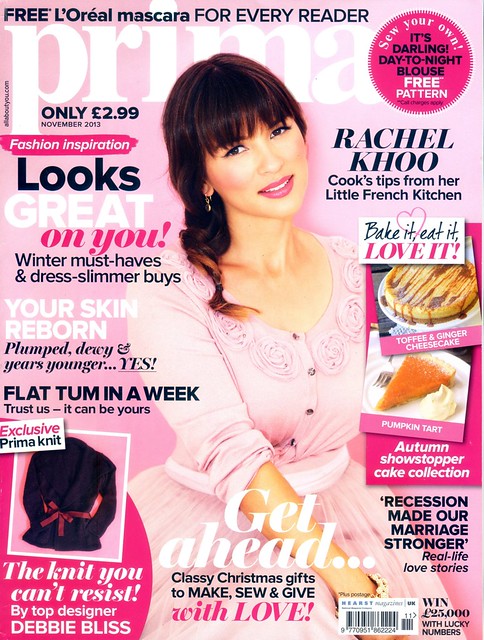
  PRIMA Magazine - December 2013 - Cover
  
For December '13, Prima Magazine are offering a classic dress - great for a LBD (Little Black Dress).

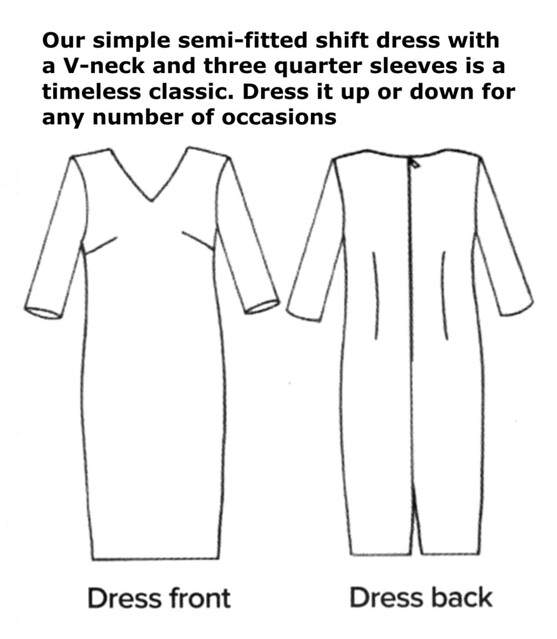
Prima Magazine - Pattern, December 2013 (01)

The simple semi-fitted shift dress with a V-neck and three quarter sleeves is a timeless classic. Dress it up or down for any number of occasions Sizes 10 - 20 (UK).

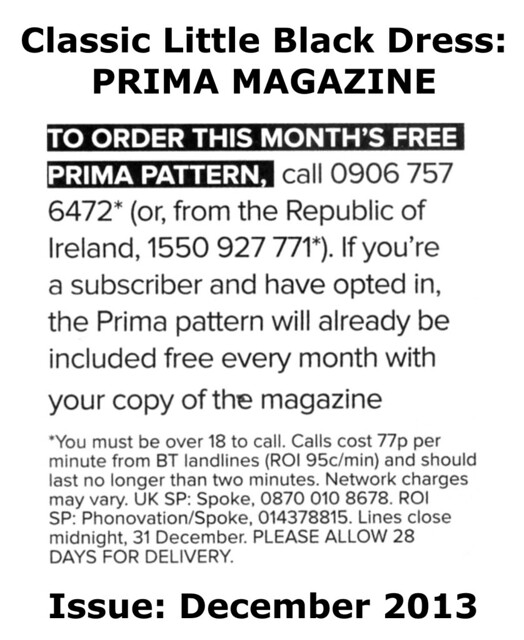
Prima Magazine - Pattern, December 2013 (02)

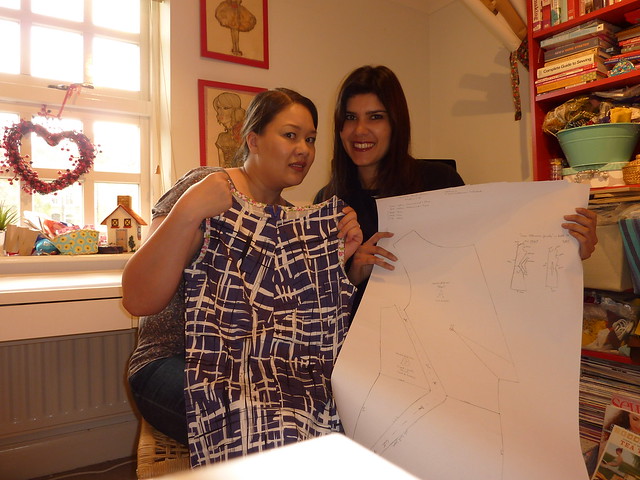
Prima Magazine - Pattern, December 2013 (03)

See my old post here on tips for ordering their patterns: PRIMA Magazine: How to Order Their Sewing Patterns.


Friday, 1 November 2013

REMINDER: PRIMA Pattern, November 2013 - Shirt & Tunic


Just a wee reminder, the November 2013 PRIMA Magazine pattern
is still available to order by phone until the end of this month.
   
Prima Magazine - Pattern, November 2013 (01)

For November Prima Magazine are offering another double-pattern... of a sort - they have a blouse/shirt - and the tunic is basically a longer version of the shirt.

Please read my previous post about the above pattern for ordering details :).

See my old post here on tips for ordering their patterns: PRIMA Magazine: How to Order Their Sewing Patterns.


Wednesday, 30 October 2013

UPDATE: Sleeve Pattern for Sorbetto Top


Back in August 2011, I digitised the sleeve pattern that  Mena of 'The Sew Weekly' created to go with the FREE Sorbetto Tank Top pattern by Colette Patterns.

I've just updated my old blog post to add-in what I believe to be the approximate pattern-size that the sleeve should fit. (NB: Mena didn't state what size the sleeve pattern is she originally drafted.) 
Image Source: 7 days of Sorbetto - The Sew Weekly, Coral Tank Top and Logo - Colette Patterns
I've done a bit of measuring of the stitching-lines, and I reckon that the sleeve-pattern is most likely for the Size 6 on the pattern, with approximately 3/4(20mm/2cmof sleeve-cap ease. You might even be able to squeeze this sleeve onto the Size 8 armhole - without any easing at all. Remember though... on the sleeve-pattern the stitching line on the sleeve cap has been printed to show  5/8(15mm/1.5cm) seam allowance... BUT that the armhole on the bodice pattern pieces has a ¼" (6mm/0.6cm) seam allowance folks!!!

I've turned the comments off on this blog-post, so if you'd like to comment about the sleeve-pattern please go here to the original-post and leave your comments there instead please guys... :)


Wednesday, 16 October 2013

Plotting, Pattern 'n' Fabric-ey Fun with Rachel... Thursday 10th October 2013


Rachel & Me
Rachel and me planning and plotting away :)!!

I'm a wee bit late in posting this (BTW is it just me or is a week in real life, like a month long equivalent in blog-land... ? It just always seems to fly by when I'm reading all those lovely new posts in Feedly which is definitely my favourite RSS reader of choice LOL!) Rachel was super-efficient and has already posted :)

Back in January the lovely Rachel (who blogs over at House of Pinheiro) shared with us that she'd been inspired by a lovely 60's shift dress to create a self-drafted dress pattern. And, me being me I happily volunteered to digitise her pattern so she can eventually share it with fellow sewists as a PDF pattern (yay!).


We planned ahead and swapped loads of emails - and we at last got to meet up last Thursday in Rachel's home town to discuss our plans.


But, before heading off to Rachel's place we had a lovely time perusing the local charity and second-hand antique shops she has all practically on her doorstep (lucky thing!).


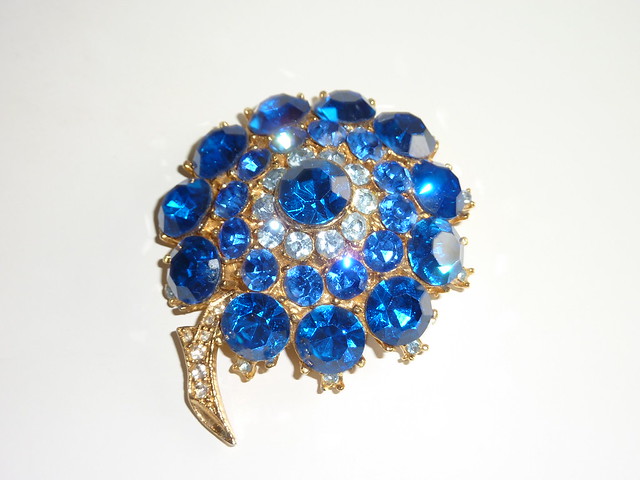
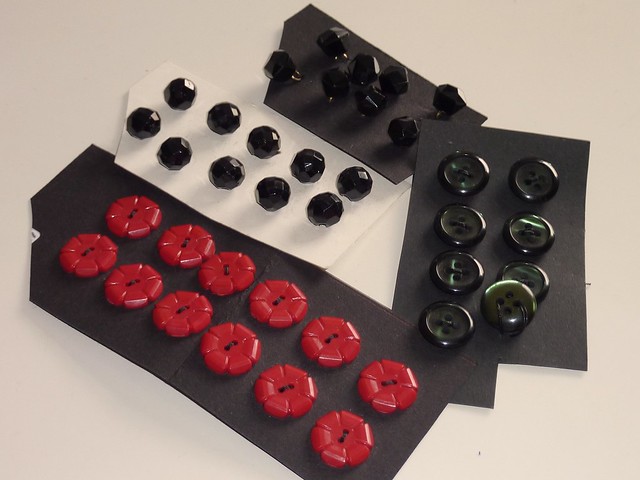
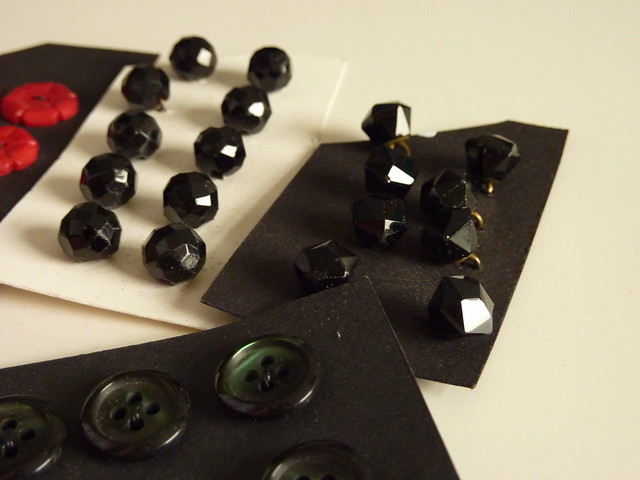
Blue Vintage Brooch  Vintage Second-Hand Buttons  Vintage Second-Hand Buttons
Pretty Blue Brooch, Vintage Buttons: Red-Plastic, 2x sets of Black Glass, Dark-Green Plastic

I picked up a bunch of these vintage buttons and a fabulous sparkly blue second-hand retro brooch in one store (Rachel nearly bought a 50's/60's style solid wooden retro sewing box for £35, but resisted the urge... if I didn't have to go back home on the train that little lovely might have come home with me instead LOL!).

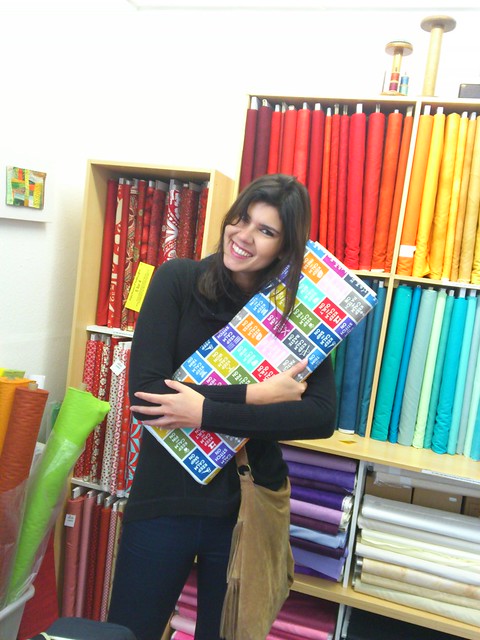
Rachel Loves Her Fabric!
Can you tell? Rachel lurvveees fabric ;) ?
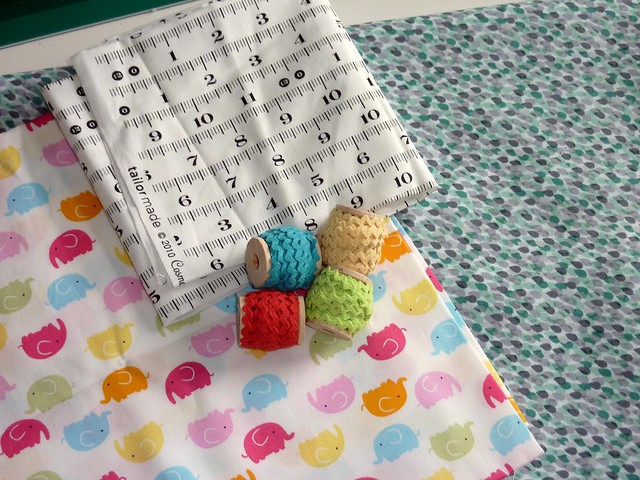
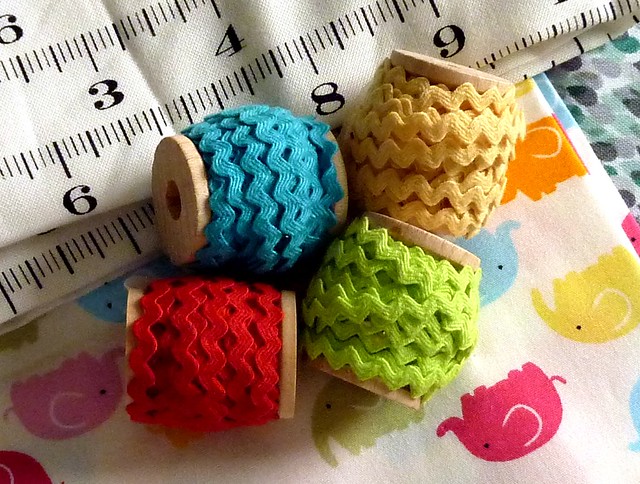
I then succumbed to the allure of fabric and bought some of these cotton quilting fabrics, plus some very cute mini wooden spools of ric-rac.

Cotton Fabric & Ric-Rac  Mini Wooden Spools of Tiny Ric-Rac Trim
Cotton Fabrics:
1m of Multi-Coloured Elephant Print (designer/manufacturer unknown),
Fat Quarter of a Tape Measure style print in Black & White - "Tailor Made" by Cosmo Cricket for Andover Fabrics, 
and 1.5m of "Raindrops" from "Washday" print in shades of Blue - part of Henley Studio Collection by Makower UK. Plus, in centre: Mini Wooden Spools of Tiny Ric-Rac Trim: Blue, Red, Yellow and Green.

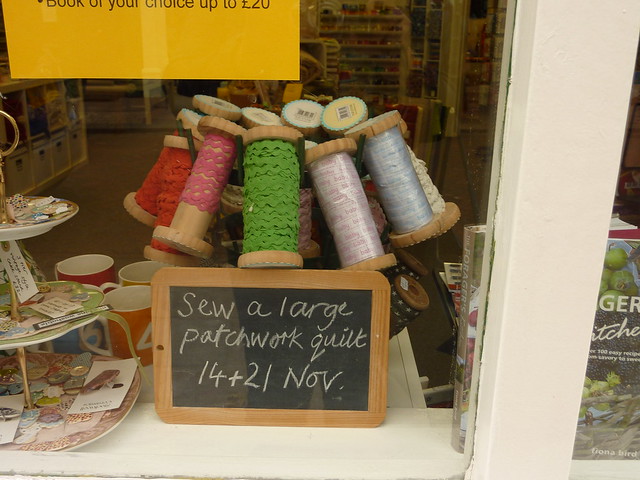
I spotted the unusual "accounting" type of print design fabric below, I've not seen anything like that before!!

Unusual "accounting" print cotton fabric  Large spools of Ric-Rac trimming

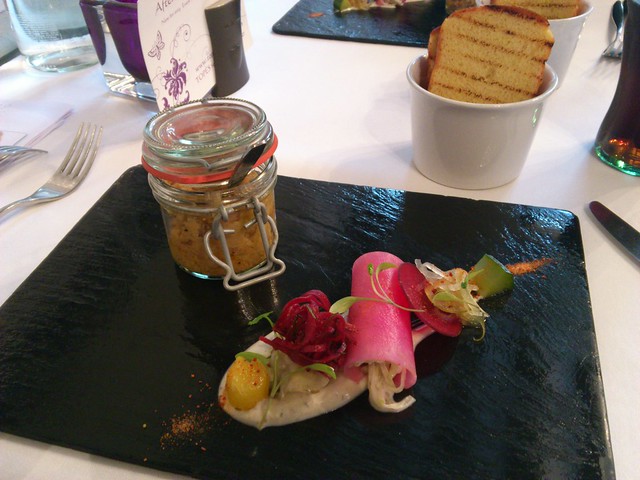
We had an absolutely delicious lunch in the centre of town before heading off to Rachel's sewing room to get busy on the Brasilia Dress Pattern.

Gotta make time to eat...  Gotta make time to eat...
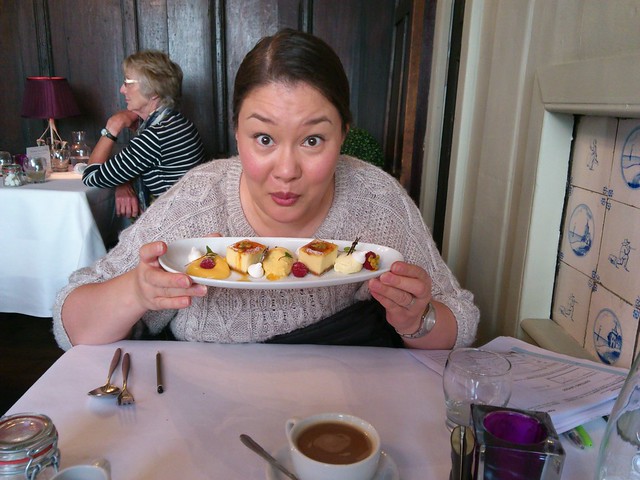
Mmmmm... yummy lunch!

So, we got things all sorted out, and this week I shall be digitising the pattern and sending it back later on to Rachel to proof-check things. I think the allure of Rachel's yummy homemade cake (see massive dish of yumminess in the photo below!) spurred me onwards and upwards for this collaboration!!

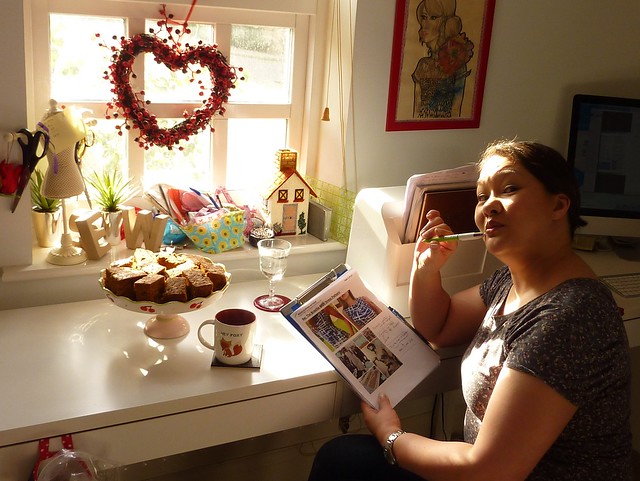
Here's a parting shot of me with my serious planning-face on (LOL!)

Rachel's sewing room


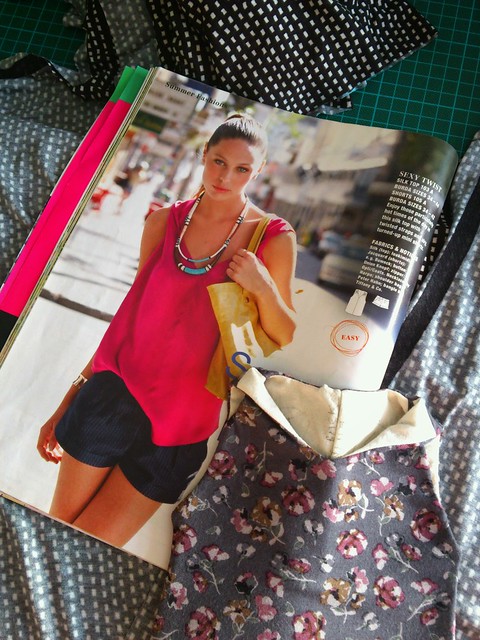
P.S. In other news... my BurdaStyle Twisted Tank Top is nearly finished - I've just got to find my overlocker manual and practice rolled-hems on some scraps and she's all done! Plus, I like it enough to make a couple more this week if I've got time too :)


Thursday, 10 October 2013

Monday, 7 October 2013

PRIMA Pattern, November 2013 - Shirt & Tunic


It's only a few days since I blogged about their October pattern, but the November 2013 PRIMA Magazine pattern is
still currently on the shelves in the Newsagents (as per standard for the publication of magazines, each issue comes out during the month prior to the date printed on the cover - so this issue came out during July) and the pattern is available to order by phone until the end of November.

  PRIMA Magazine - November 2013 - Cover
  
For November Prima Magazine are offering another double-pattern... of a sort - they have a blouse/shirt - and the tunic is basically a longer version of the shirt.


Prima Magazine - Pattern, November 2013 (01)

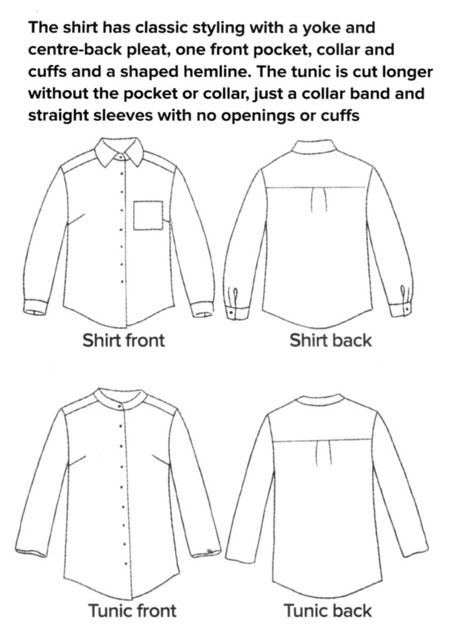
The shirt has classic styling with a yoke and centre-back pleat, one front pocket, collar and cuffs and a shaped hemline. The tunic is cut longer without the pocket or collar, just a collar band and straight sleeves with no openings or cuffs. Sizes 10 - 20 (UK).

Prima Magazine - Pattern, November 2013 (02)

Prima Magazine - Pattern, November 2013 (03)

Prima Magazine - Pattern, November 2013 (04)

See my old post here on tips for ordering their patterns: PRIMA Magazine: How to Order Their Sewing Patterns.


Thursday, 3 October 2013

PRIMA Pattern, October 2013 - Blouse & Pencil Skirt


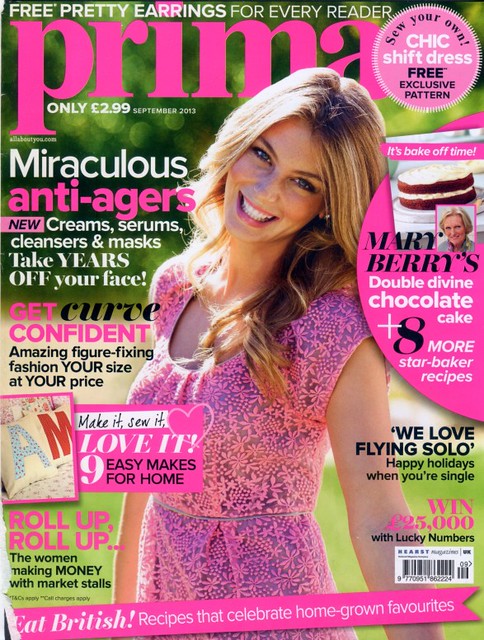
The October 2013 PRIMA Magazine pattern is still available to order by phone until the end of this month.


  PRIMA Magazine - October 2013 - Cover
  
This month is another double-pattern offering.


PRIMA Magazine - October 2013 - Blouse & Pencil Skirt

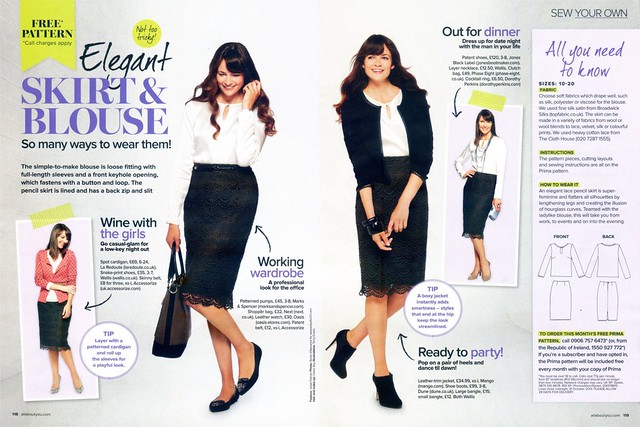
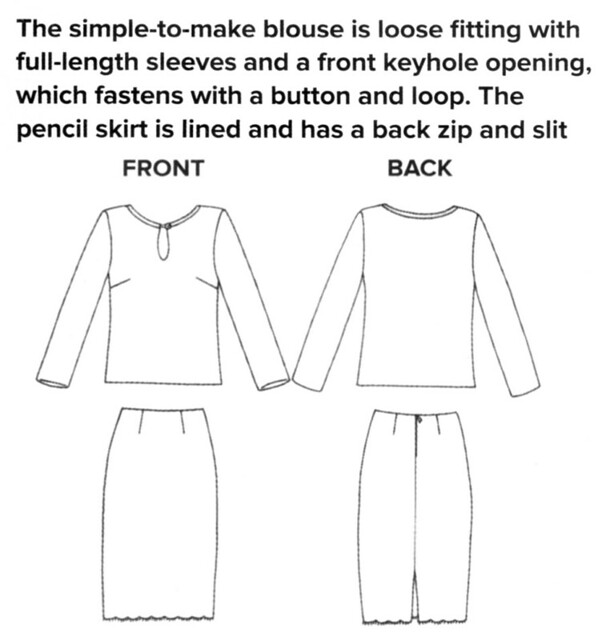
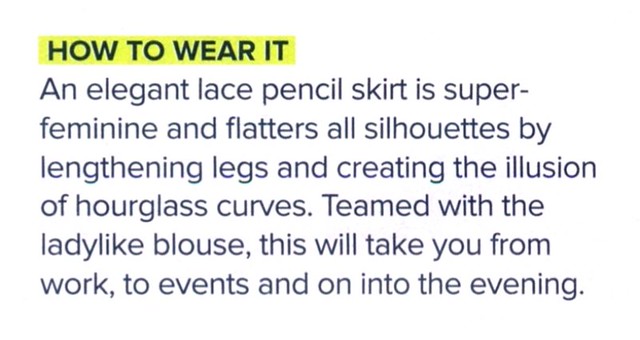
The patterns for October are an elegant skirt and blouse. The simple-to-make blouse is loose fitting with full-length sleeves and a front keyhole opening, which fastens with a button and loop. The pencil skirt is lined and has a back zip and slit. Sizes 10 - 20 (UK).

Prima Magazine - Pattern, October 2013 (01)

Prima Magazine - Pattern, October 2013 (02)

Prima Magazine - Pattern, October 2013 (03)

See my old post here on tips for ordering their patterns: PRIMA Magazine: How to Order Their Sewing Patterns.


Sunday, 1 September 2013

PRIMA Pattern, September 2013 - Shift Dress


The September 2013 PRIMA Magazine pattern is still available to order by phone until the end of this month.


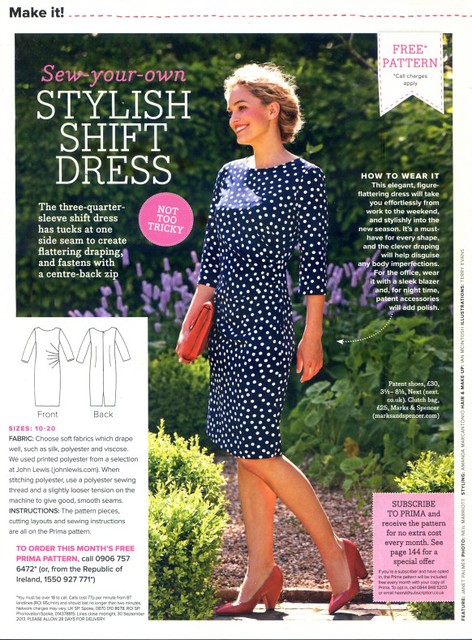
PRIMA Magazine - September 2013 - Cover  PRIMA Magazine - September 2013 - Shift Dress Pattern
  
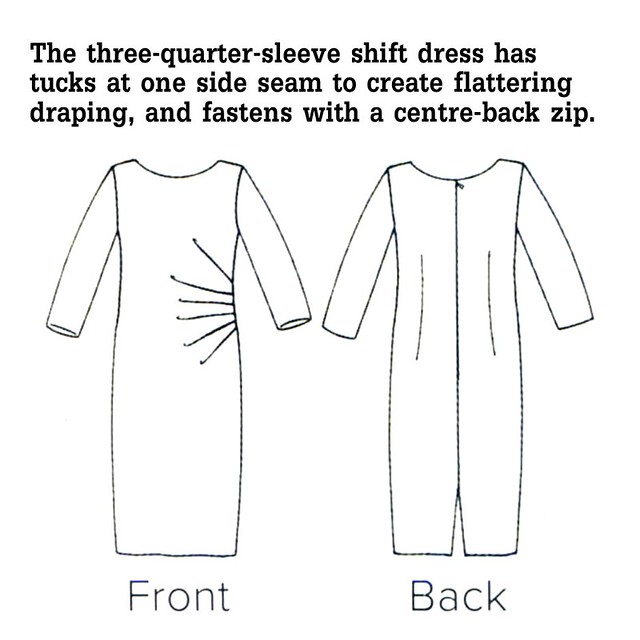
The pattern for September is a stylish shift dress. The three-quarter-sleeve shift dress has tucks at one side seam to create flattering draping, and fastens with a centre-back zip. Sizes 10 - 20 (UK).

Prima Magazine - Pattern, September 2013 (01)

Prima Magazine - Pattern, September 2013 (02)

Prima Magazine - Pattern, September 2013 (03)

See my old post here on tips for ordering their patterns: PRIMA Magazine: How to Order Their Sewing Patterns.


Tuesday, 20 August 2013

Help Build the New Community Forum - Colette Patterns & Coletterie Blog


The guys at the blog for Colette Patterns (Coletterie) are planning to upgraded & overhaul their forum community and they need your feedback... visit their webpage to take part in their online survey and share your thoughts with them please :)


Saturday, 3 August 2013

Goldhawk Road Meet-Up: Saturday 3rd August 2013


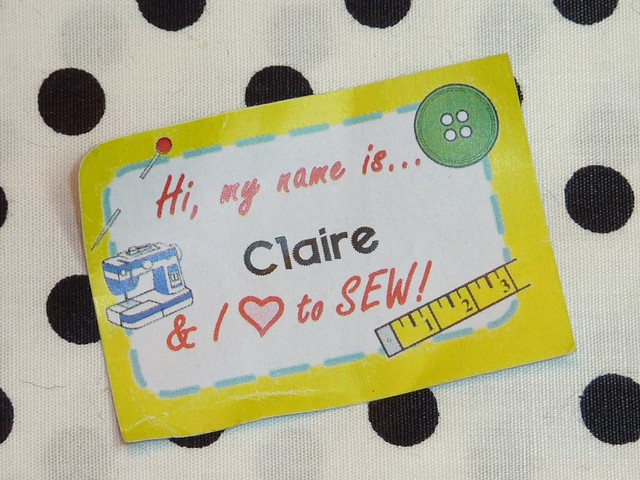
Hi, my names is... & I love to SEW!
One of the name-badges I printed off for us :)!
Well, what a wonderful, friendly and happy bunch of people everybody was today! I think it was more than simply the lovely sunshine we've been blessed with recently in the UK that made us all smile. And, perhaps it was the allure of the fabric lovelieness to be had in the stores of Goldhawk Road, but the meet-up that I'd originally announced back in April was a definite success. And, it's all down to you guys who attended and made it such a fun day to be on. I always hold fast that it is the people that make the meet-up, and I loved meeting everyone today (I hope that you did too?) :).


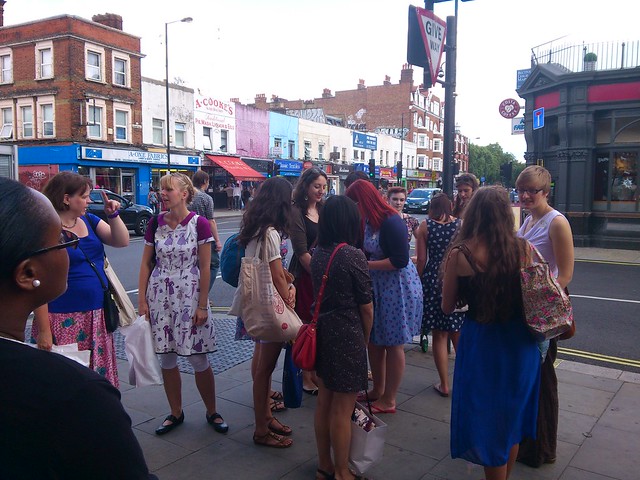
Sewing fans outside Goldhawk Road tube station
Sewing fans gathering outside of Goldhawk tube station
Here's the list of our splendid attendees... we had 37 folks in total - including a lovely young lady (a Niece joining her Auntie) who picked up some goodies to enjoy her new sewing skills on. We also had x1 bloke... who I have now officially changed his moniker to "Roisin's Boyfriend" (aka the artist formerly known as "Nic"). Plus, some visitors from abroad... we had Wendy who came over from Luxembourg just for this meet-up, and Rachel from Australia who's been over in the UK for several weeks. Special thanks to Kat for being Vice-President in charge of issuing the name-stickers :) 

Alison –
Ally –
Amy –
Carys
Charlie –
Daniela –
Diane –
Dibs –
Emma –
Iris
Jamila
Jenny
Jo
Kat –
Kat –
Katy –
Katy –
Lorna
Melissa –
Mellie –
Penelope –
Rachel –
Rachel –
Roisin
So-Ha –
Susan –
(2-ladies – a joint blog:
Aileen & Louise)
Tanya
Wendy
Zora - Seeds, seams

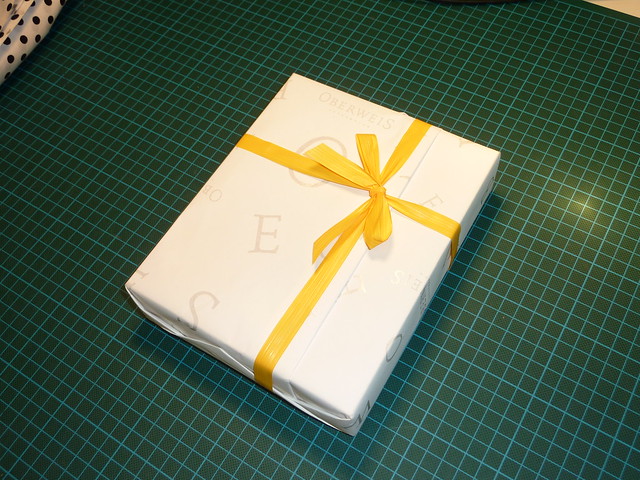
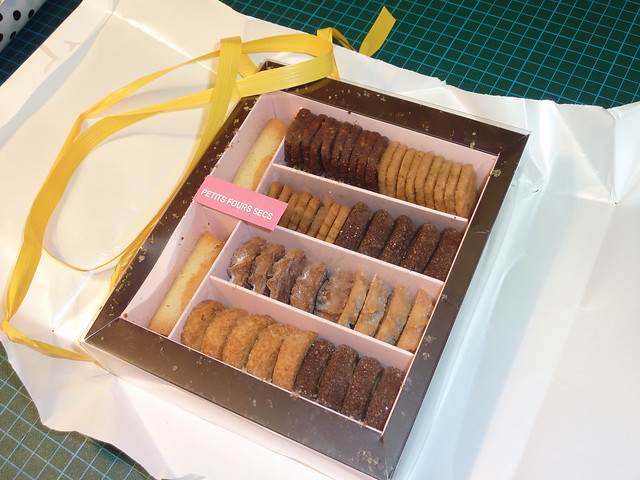
In fact another special thanks goes out to Wendy - for bringing this cute little gift of some very yummy looking Petit Fours by Oberweis all the way from Luxembourg just for little 'ol me! (I was under strict instructions not to open it until I got home hehe! They're now chilling in my fridge waiting for me to enjoy tomorrow - thank you so much Wendy!!!)


OBERWEIS Luxembourg  OBERWEIS Luxembourg - Petit Fours

We started off by meeting up at the tube station just before mid-day, we then headed off for around and hour's worth of fabric-hunting in the shops before reconvening to head down the road for lunch.

Lunch... is another story LOL! When I'd selected the 3rd August for the meet-up date, it was to coincide with Rachel's travel dates. However, as the football fixture dates had not as yet been announced I was blissfully unware that QPR (the local football team for the Shepherd's Bush area) were holding their 1st major home game of the season on the same date (epp!). I'd visited the area in person earlier this week on Wednesday to scout out potential lunch venues... but I was having no luck (what with everywhere expecting to be overrun with beer-swilling football-mad blokes LOL!). The last place I tried was the LIZ CAFE (at 7 Goldhawk Road, Shepherd's Bush, London W12 8QQ), it was last on my list as it was a brand-new place and I've never visited there before. I spoke with the nice young man behind the counter and left my details. They were very diligent and called me back the same day. Thursday I popped back-in to meet the lady Manageress to discus the details... and bingo - our lunch venue was reserved & sorted (yes - I'd stressed myself a bit over that one ;)!!).

LIZ CAFE (at 7 Goldhawk Road, Shepherd's Bush, London W12 8QQ


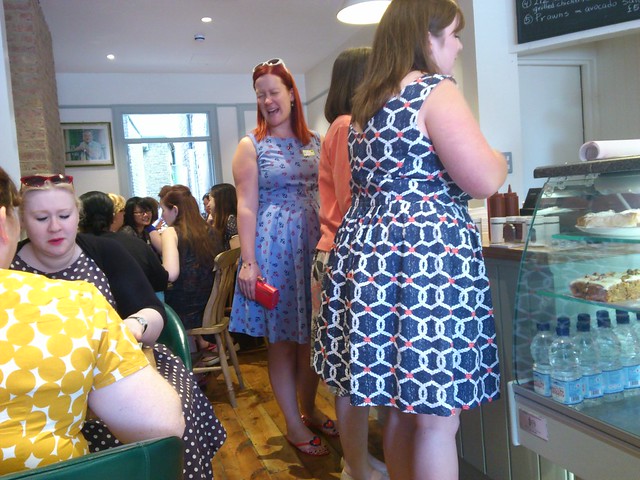
Blue summer dresses galore!
Summer dresses galore!  From: Thread Carefully, and VickiKateMakes
Well, we all had a really great lunch at LIZ CAFE today. They were brilliantly helpful and accommodating to our happy (but noisy) gathering of friends (which is great when you consider that I'd only made the reservation for our large group at such short-notice 2 days beforehand). We were all very happy with the food (excellent), and the family team made us very welcome indeed. I for one will definitely be back for more, and I can see it as a great place for future sewing meet-ups (or meet-ups of any kind). In fact I'd 100% recommend them to anyone visiting the fabric shops in Goldhawk Road; or for anyone in the Shepherd's Bush area. The warm atmosphere, and great experience would make you believe that this little gem has been here forever, but it has only been open less than 2 months - the fact that they have built such a great cafe and lovely service in that short time-period shows that hard work and customer-service is paramount to the family at Liz Cafe. (This may sound like a sugar-coated review to some - but I genuinely think that they are great, and a fab alternative to all the "big-chain" coffee/food places out there... so I say visit them if you can if you're in the area.)

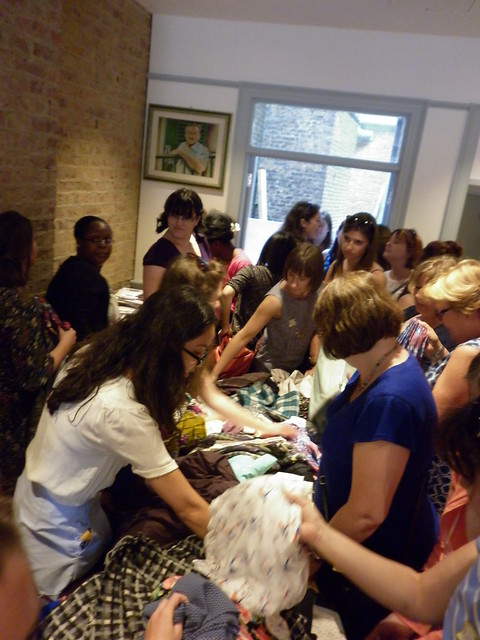
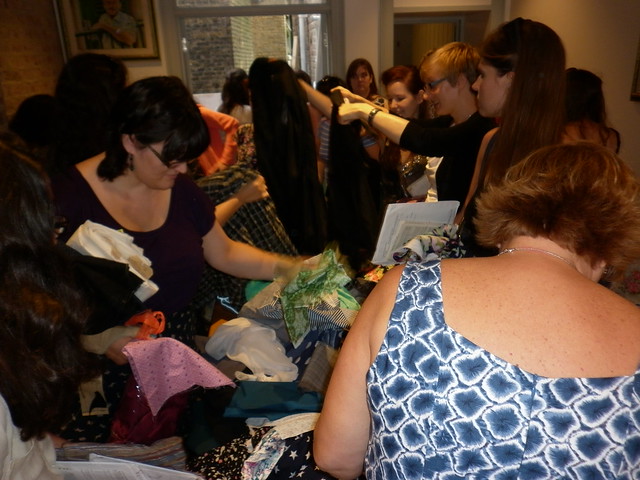
After we'd munched down on out tasty treats, it was time to clear the tables - and get out the goodies we're brought along to swap with everyone else. With 37 people, that a helluva lotta stuff (LOL!). So, as per the previously established process back in April and June - we laid out all of our swap items out on the tables. 1 for fabric, 1 for patterns, and 1 for notions/wool/etc.

Then on the count-down of 3-2-1, everyone gets to mingle freely and take home some lovely new-to-them items (yay - what's not to love!!?). 


The fabric swapping table!

The fabric swapping table!

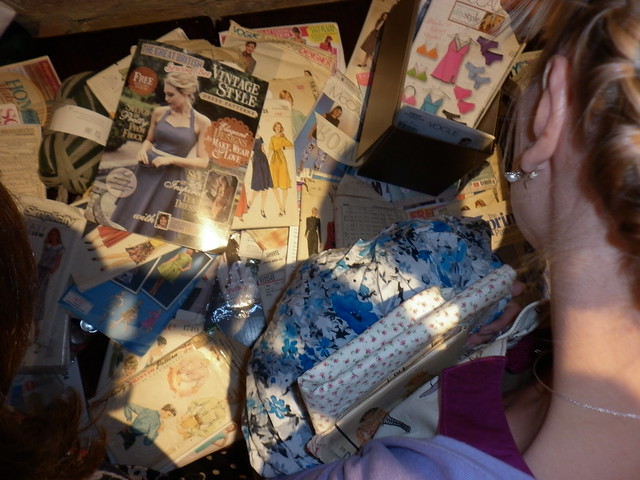
Melissa brought a HUGE box of patterns with her to giveaway (see the 1st photo in her post here). I had 7 pieces of fabric with me, some Machine Embroidery thread spools and one solitary little dress pattern. One piece of mine was 9+ metres of chocolate brown Viscose jersey which got divided up into 4 pieces for different ladies to enjoy ;)!

The pattern & notions swapping table!
The only rules for the swapping (apart from no-elbowing allowed hehe!) were that at the end of le-grande swap that anything we'd personally brought along with us that was not claimed by a new owner either got taken home by the bring-ee, or it got donated to the charity shop. In this case the nearby FARA Charity Shop on Uxbridge Road in Shepherd's Bush (my thanks to Jenny and Zora for their help in carrying the donations over to FARA with me).


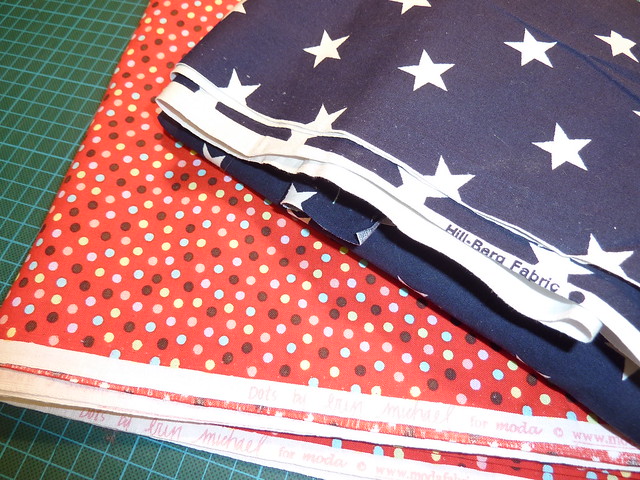
I picked up 2 pieces of cotton fabric at the swap: some red with multi-coloured polka dots, and some navy blue with large white stars.

Cotton Fabric from the swap

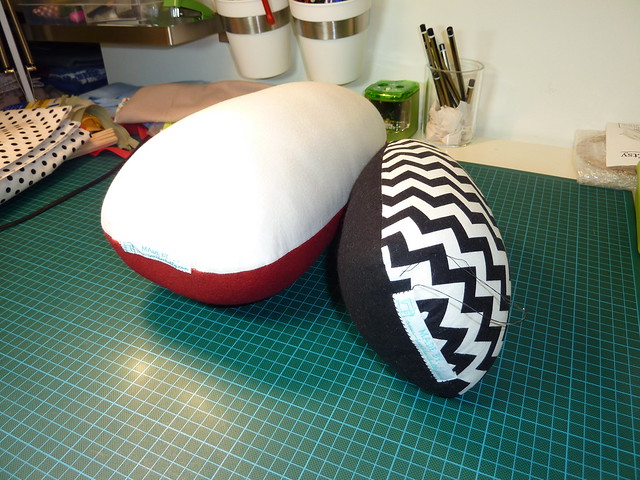
And this morning I made another Pressing Ham (can you tell... I've not finished sewing my label on LOL!), plus an extra-large one I'd made a few weeks back - so show 'n' share with a few ladies :). I wanted to get some opinions on the size and shape from my fellow sewists.


Pressing Hams
More homemade Pressing Hams :)
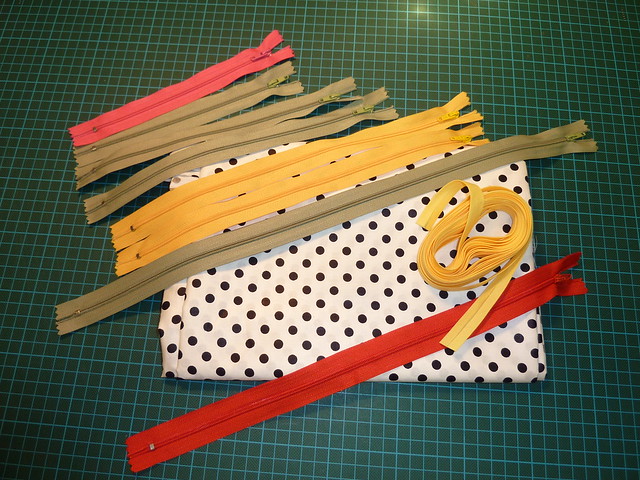
I felt positively virtuous purchase-wise, as below are the only bits I actually paid for today: some white 100% cotton with black polka-dots, that I plan to re-make my top with, a bunch of zips (from 30p - 50p each), and some yellow polycotton bias-binding for 50p/metre.


Zips, Polka Dot Cotton Fabric, Bias Binding
My only bought items: Zips, Polka Dot Cotton Fabric, Bias Binding

Saving Goldhawk Road...
Whilst today our merry band has enjoyed the fabric-fruits of the stores on Goldhawk Road - this pleasure may not last very much longer. Half the shops are under threat from developers - see the campaign against this at their Facebook page 'SAVE 30-52 GOLDHAWK ROAD FROM DEMOLITION', plus this article in the Fulham & Chronicle - 'Inquiry to scrutinise compulsory purchase of Shepherd's Bush Market(and also Melissa's great post here).