Pages

Showing posts with label copying RTW. Show all posts

Tuesday, 10 March 2015

Sometimes UFOs "Can" Be Good


So, earlier today I was hunting around in my sewing room for the rub-off pattern that I'd made back in January 2013 from a much loved ready-to-wear top. 

My plan was to make a quick new version - as the top is a nice casual boxy fit, with cut-on sleeves, and it's a very easy fast project to sew up.

LEFT: First top made from the pattern
RIGHT: Second top, made today from UFO project.
The first rendition of this pattern was the grey crepe floral number you can see on the left above. (The black top on the right of the photo is mid-project, just awaiting addition of the cuffs to the ends of the sleeves.)

So, I found the paper pattern pretty much straight away (which was great) - but even "better", I found in the same bag a set of black fabric pieces already cut out ready to sew-up (YES!!!).

Clearly, past Claire had decided that the pattern was good enough to warrant another go. But, for whatever reason I didn't progress further with No. 2 top and it turned into a *UFO. I even found that I had already fused stay-tape to the necklines, and also to the shoulders on the back bodice - yet another great time saver for me LOL!

I had planned to make my second top from some fresh fabric - but finding this forgotten UFO from 2 years ago in my stash saved me a lot of time on cutting out etc..

I started stitching the top at around 4.30pm today, and aside from 2 hours to cook dinner and watch some telly it only took me 3 hours at a calm and leisurely pace to complete it!

The finished top - earlier this evening.
Please forgive the mirror - it's badly in need of some Windolene LOL!
So, that is my short 'n' sweet tale of how sometimes UFOs can be good :-)


Please forgive the poor photo quality folks - I was using my phone for speed ;-)!


*UFO = Un-finished object.


Wednesday, 13 February 2013

First Garment Make for 2013! (Part: Two - Overlocking and Vents/Side-Splits)


Picture heavy post coming below peops... if nothing else - it serves as an excellent visual reminder for me - as I need to make-up the plain black cotton version of this top... as I've already cut out the fabric LOL!

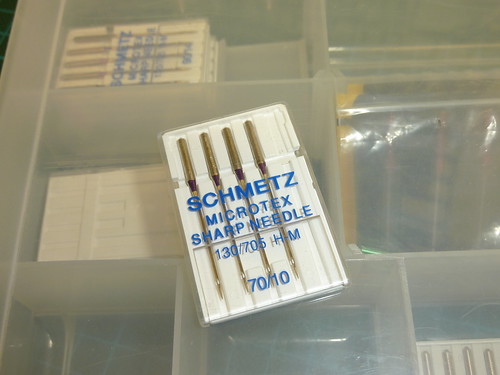
Following on from my last post I ran some test samples on my sewing machine - as I was concerned that it might chew up the lightweight flimsy fabric. I used a Microtex needle (so it's nice and sharp!) - and my vintage machine has the ability to lower the feed-dogs for Normal - Silk - Embroidery fabric. The last setting basically lowers the feed-dogs completely out of the way so the fabric can be moved around freely at will. SIDE-NOTE: That's a pretty handy feature if you're using a Buttonholer attachment, as it can save the need for an extra plate to cover any feed-dogs that cannot be lowered out of the way. With a Buttonholer the attachment itself grasps onto the fabric and moves it around as the buttonhole is stitched - therefore it needs the fabric to not move along with the sewing machine's feed-dogs.


Schmetz Microtex Sharp 70/10 Needles  Switch to raise/lower feed-dogs on my sewing machine

The straight stitch samples came out best on a fairly long stitch length, with the top-thread tension reduced a little, and the feed-dogs lowered to the Silk setting. I also preferred the nicer stitch formation I got using my straight-stitch foot and straight-stitch needle-plate (the plate was another excellent purchase a while back from the ever-handy Helen). I find that with that plate I can only use the machine with the needle-positioned to the far left - otherwise the needle would break when it misses the tiny narrow hole... ask me how I know !!?!.

I also tested the overlocker (serger) using 4 large spools of nicely matching grey thread I picked up IIRC at William Gee in Dalston. I had tried the tie-on method of switching over the threads... but only the left-needle worked! All the others got jammed and caused the thread to break. Anyhow... it's so easy to thread my machine I don't need the instructions anymore - just a pair of tweezers and some good lighting LOL!
  
Then, having examined the construction of the original (i.e. nosing around inside!) I could see that the majority of seams were overlocked together. I also observed, that to create the small, but simple side-vents (splits?) I'd have to overlock the front and back side-seams on both the front and back bodices from the hem-upwards for about 11cm (4½") - that's the length of the vent + extra at the very bottom for the turn-up of the hem-allowance + a bit extra above where the top of the vent ends. The idea would be to then straight-stitch the side-seams (SS) and the integral but short underarm seams together - stopping at the point where the top of the vent should be. The overlocked edges of the vent are then pressed to the inside of the garment along the same width as the 1cm (3/8") SS - and then they are topstitched in place about 7mm (¼") from the edge. After that the hems can be overlocked, pressed and then straight-stitched into place.


So, to pre-overlock the vent/side-split edges I did the following:
(1) Marked the where the top of the vent is (the same place the side-seam ends/where the split-opening finishes).
(2) Marked the level at which the SS will end-up overlocked together - then clipped from the edge of fabric inwards at this level stopping at the point where the finished fabric edge will finally be (NB: for this delicate lightweight crepe fabric I cut the pattern pieces wider than the final).
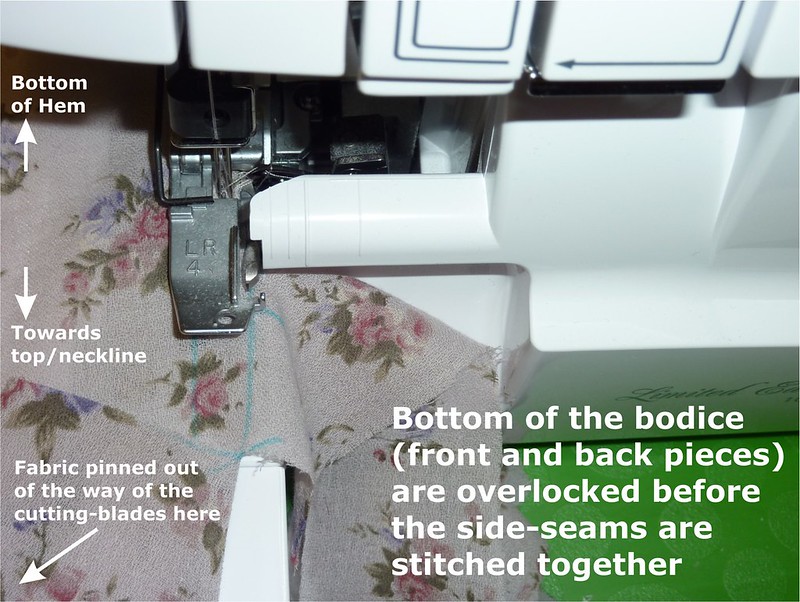
(3) I then folded the fabric above the clip in towards the middle of the bodice, and pinned it out of the way. (It will be out of the way of the overlocker blades.)
(4) Then each of the 4 vent/side-split edges are overlocked (4 = 2 sides on the Front Bodice, 2 on the Back Bodice) - tailing off the threads at the point where the upper fabric of the bodice is folded out of the way.

 Overlocking the seam allowances on the vents (side-split opening) first

Overlocking the vents - pinning fabric out of the way of the blades

Overlocking the vents - finishing at the top of the vent

I was then ready to straight-stitch the shoulders together - but this fabric is flimsy and fiddly to handle, so I pinned and then hand basted it together to get an easier to manage machine-stitch result. After the straight-stitching I pressed the seams, then overlocked them.

Next, I straight-stitched the side-seams. Starting from the curved area of the underarms working down towards the hems. I stopped to back-stitch very carefully at the point where the top of the vent opening starts. Luckily there's a tiny overlap of the fusible stay tape at that spot to reinforce the stitches - as I was concerned that it could be a stress point and tear through when worn (eekkk!).

Then, I needed to overlock the side-seams. However, I was concerned about my iffy ability to negotiate a tight curve on the overlocker - with out fluffing it up big-time and slicing something off with the blades irretrievably. So, I first carefully cut along the cutting-line of the underarm curve and also about a further 3 - 4cm worth of the vertical-line (see photo below) and then I stopped. I figured this would make it easier for me to manipulate the fabric around a curve when I overlocked the side-seams.
 
Preparing to overlock the side-seams

I then placed the under-arm seam-allowance under the presser-foot - aligning the cut-edge of the curved-fabric against the side of the cutting blades. And, I was able to overlock easily around the corner and down the straight (sounds like driving a racing car LOL!) !  ... i.e. just as per this tip about serging inside curves here I straightened the line as I fed it through the overlocker machine as I stitched around the curve. It basically eliminated 1 out of 2 sticky areas for me - I could ignore the problem of cutting in a nice curve, and instead I concentrated on just stitching it nicely instead (yay!).

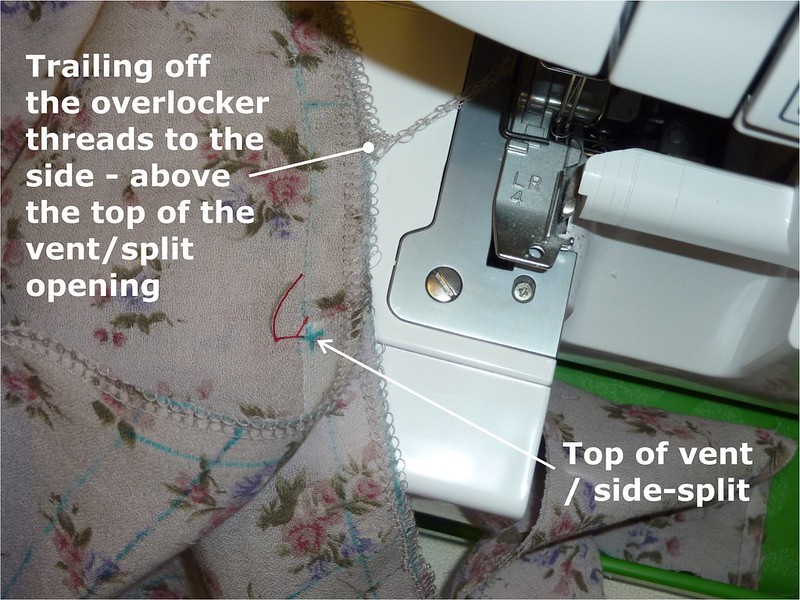
Overlocking the underarms and then the side-seams When I got close to the top of the vent opening (which I had marked off with water-erasable marker at point about 5 - 6cm above the top of the actual opening) I needed to overlap the overlocking stitches with the pre-overlocked section. It's here, that the pre-cut, pre-overlocked edges of the vent seam allowances meet up with the overlocker blade-edge as it passes through the machine towards the needles. I overlapped both sections of overlocking a little bit before trailing off the threads gently to the side (see photo below).

Trailing off the threads before reaching the top of the vent opening

Okay, so far the shoulders are sewn up, as are the vents/splits, and the side seams - only the sleeve-cuffs, neckline and hem left to write-up for posterity :) !

  
  On different tangent, but kinda related to overlocker/serger machines I spent half and hour   this evening moving all my favourite serger/overlocker pins onto a new separate Pinterest 
  board of their own (Sewing - Sergers & Overlockers: Tutorials & Tips) so I could find and
 
browse them more easily hehe
!


Next up... Part Three - Sleeve-Cuffs, Hems and Neckline


Tuesday, 29 January 2013

First Garment Make for 2013! (Part: One - Pattern Drafting & Fabric Cutting)

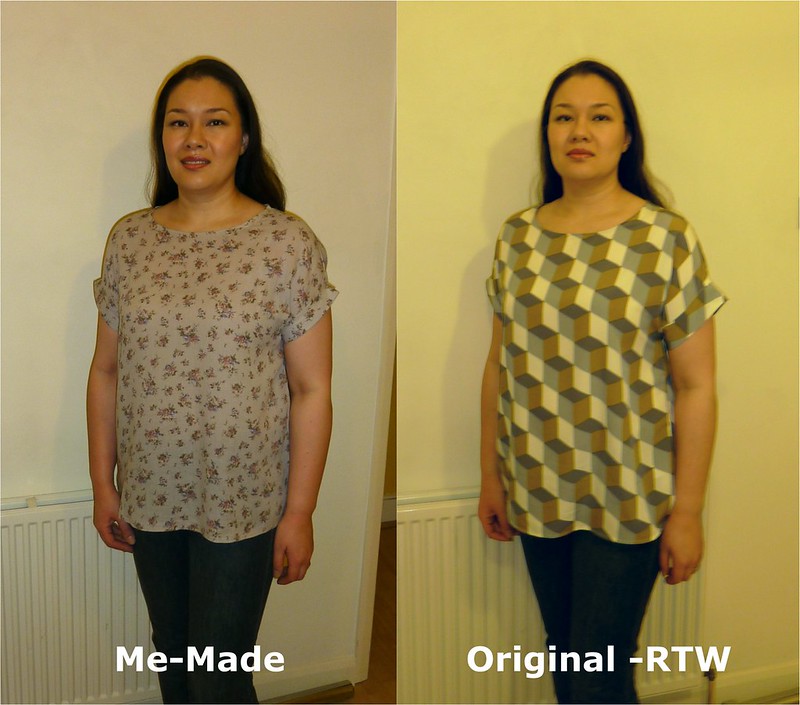
... I decided to ease myself into the New Year with a simple make I'd been planning on for a while. So, here's my rub-off copy of a RTW (ready-to-wear) top I bought last at the end of 2011 for around £23 (I'd fallen in love with the gorgeous geometric print fabric!).

Grey-Floral Crepe Top
Photo on the left taken at 7.30am, the one on the right at 7.30pm same day (hence the tired eyes LOL!)
Below is an image I found on the web of the original top (which shows it's colours better than my meagre efforts above) photo from M&S.

Inspiration: RTW Top from Marks & Spencer

The original top I'd bought from Marks & Spencer's had little cut-on cap sleeves (I'd say like kind of like an extended-shoulder seam, with a very short Kimono style sleeve as described here at the Coletterie) with cute turn-back cuffs sewn on too.

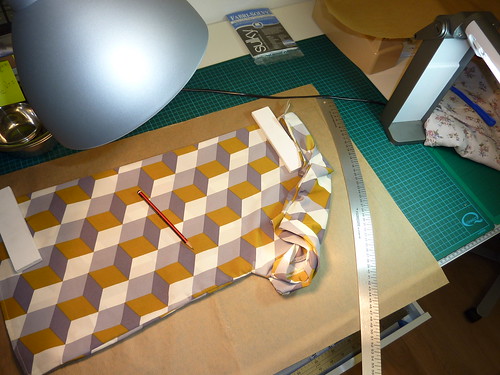
It was very easy to make the pattern - I just employed common sense when tracing the pattern pieces onto paper from the original garment. I didn't even need to consult my 2 books on coping RTW garments Patterns from Finished Clothes: Re-creating the Clothes You Love or Patternmaking for a Perfect Fit.

   
 2 great books on creating patterns from your existing garments

There are only 3 pattern pieces bodice-front, bodice-back, and the sleeve-cuffs... unless you count a moderate length of beigey-coloured 12mm (½") width single-fold bias binding that I used to bind the neckline - which I did following Jen at Grainlines fab tutorial "Getting Flat Bias Necklines" :) (last used to great success on my Spotty Scout Woven Tee top). In fact I only traced out the bodice once - and used it for both the back and front! Why you may ask? Well... the original M&S top is a loose, casual style - with no darts, and virtually no shaping. It's super easy to throw on for work, and in the right fabric can look smart - especially with neat little turn-back cuffs at the end of the short-sleeves. Therefore, front and back pieces are virtually identical - aside from the necklines... wonderful in terms of pattern tracing, and less work for moi LOL!

Copying the ready-to-wear top
Copying the RTW top onto parcel-paper
Clover Double Tracing-Wheel
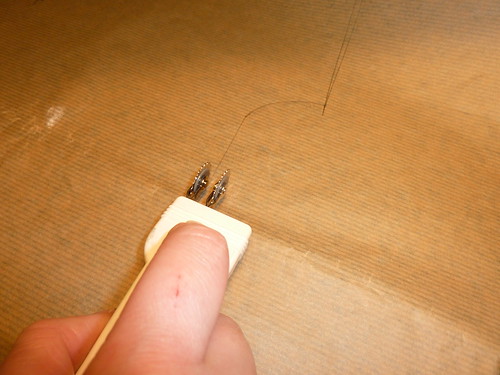
Using my Clover Double Tracing Wheel to add the 1cm seam-allowances

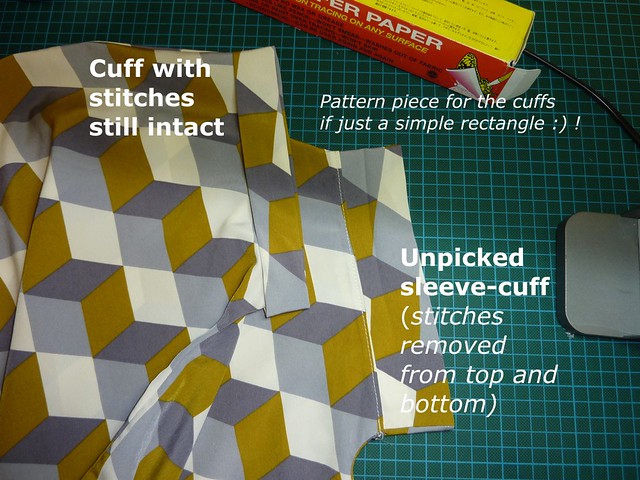
I made the seam-allowances (SA) all 1cm (3/8"), and the hem-allowance 1.5cm (5/8"). The pattern piece for the turn back sleeve-cuffs was very easy. I initially thought that the cuffs might have been shaped, or curved in some way - so I carefully ripped out the 2-3 retaining stitches with my trust seam ripper and had a look. They were just rectangles - yay! So, the pattern pieces are just 11cm x 42cm (4 5/16" x 16½").

Checking out the turn-up sleeve cuffs


  TIP: I Found this handy site for converting between cms & inches 
  - it shows the imperial measurements in fractions ;)! You can still do it the old fashioned way:
 
  X cm ÷ 2.54 = Y inches, 
  E.g. 10cm ÷ 2.54 = 3.93 inches (or the website says = 3 15/16") 

  or A inches x 2.54 = B cm 
  E.g  11 13/16" x 2.54 = 30.00375cm (i.e. the length of a standard classroom  ruler ;)!)

  (With 1mm = 0.1cm, 10mm = 1cm - in case you're playing around in millimetres too.)


Next, to decide which fabric to use. The original is 100% polyester - but in an almost silk-like drapey finish which I wanted to recreate as much as possible.  Having seen Winnie's recent make I remembered that I had the same fabric already in my stash + extra bonus, it was already pre-washed :) (Winnie got her fabric in a swap with Jane - we both bought the same fabric for only £2 / metre at this lovely meet-up back in April 2012).

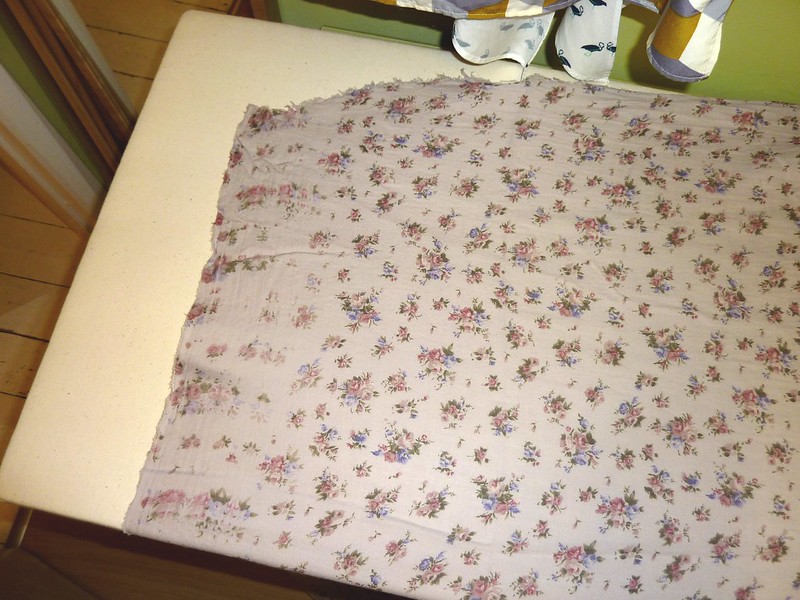
So, the soft lovely lightweight grey floral fabric it was then! (I don't know the fibre content but it's possibly got some viscose or cotton in in - as it doesn't feel artifical/polyester-ey or acrylic in anyway.)

Cutting out was interesting as the printed fabric was a bit poorly printing along one of the selvedges - but it was easy to avoid.

Badly printed Grey-floral crepe fabric
Can you see the dodgy-area of poorly printed fabric down the left-hand side ?

And, I've drawn a conclusion about my fabric cutting-style "I do not like cutting on the fold!". I find it fiddly to line everything up neatly, and I feel I can save fabric more if I use a single layer. So, for this make, and going forward I'm going to make sure and pattern pieces I use that say cut on the fold - that I trace out and tape on their matching mirrored missing side.

Due to the lightweight nature of the fabric I knew that I'd need to stabilise the neckline, shoulder-seams (front + back - as I was concerned about tearing), thicken-up the sleeve-cuffs (so they don't flop down and get all narrow/wrinkled and unsightly looking) and possibly beef-up the 2 simple little side-vents a bit too.

So, I did some test samples with various fuseable, iron-on stay tapes in my stash (utilising my trusty iron + point-presser clapper to ensure good results) to check for: 
a) durability (I didn't want them to bubble, or warp, or come off as soon as I glanced in their direction LOL!)
b) colour match (NB: the fashion fabric is light weight - so there's the possibility of show-through from underneath)
c) weight (as I want added strength, but not stiffness!)

Fusible Knit Stay Tape (Narrow Interfacing Strips)
The different knit fusible stay tapes
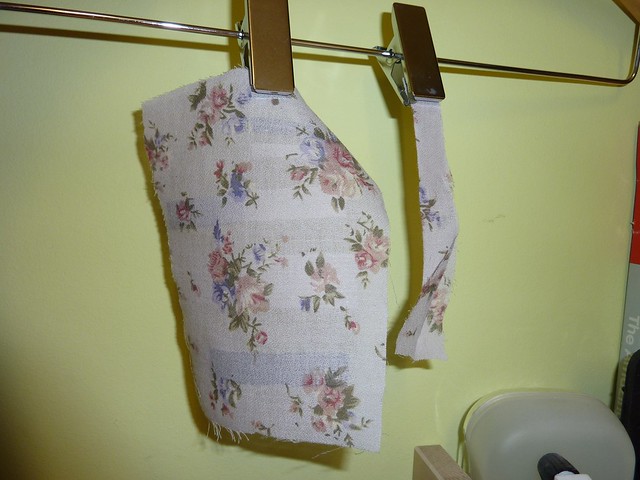
Fused samples of knit stay tape on lightweight grey-floral crepe fabric
Fused fabric sample
I tested some Extremely Fine Fusible Knit Stay Tape from Sunni's store in both Ivory and Black. It fused very well in both colours, and had a great flexibility still to it - which I had expected, with it being a knit-tape. I also tried a Prym Tape from John Lewis (called 'Edge Tape Interfacing' in 10mm, White). All the stay tapes performed very well... so it was just down to colour! Due to the semi-opaque nature of the fabric I was worried about show-through from the stay-tapes. So, I held them up to the light to judge on the best one - I even tried cutting them in half-strips to make them narrower and less visible. I also tried layering tapes onto of each other ivory first then black, and vice-a-versa... I guess I was hoping it'd sort of turn grey together when viewed from the front, and I was willing to give it a go if it didn't turn out too stiff LOL!

The best in the end was the Ivory tape from Sunni. I cut it into narrow half-width strips; all the better to reduce it's visibility from the outside. Due to the flexible-nature of the knit it was very easy to apply around curves, without any need for clipping - yay!

As I now prefer to do it this way; I do not cut out the neckline from the rest of the fabric until I really have too. I feel it is easier to handle, and far less likely to warp and stretch out of shape this way (especially on this delicate lightweight crepe fabric). To my mind, it saves me a headache and what little fabric I would of saved had I gone ahead and cut it out the "usual" way I can live without ;) LOL!

So, I fused along the stitching line - saving the cutting out of the neckline for later (until after I've sewn the first stage of applying the bias-binding facing to the outside of the neckline - which is just before turning it to the inside and stitching it down again).

Next up... Part Two - Overlocking and Vents