These days, since the Hubster bought me my lovely Overlocker (serger) for my birthday back in 2012 I'm usually okay for 95% of construction for T-Shirts and other knit garments. I just whizz them through the 'ol Brother 1034D with a smile on my face and the wind in my hair ;-) LOL! However, in the absence of a *Coverstitch sewing machine in my life I do like to get a straight-stitch effect on my cuffs and hems using my ordinary, regular sewing machine.
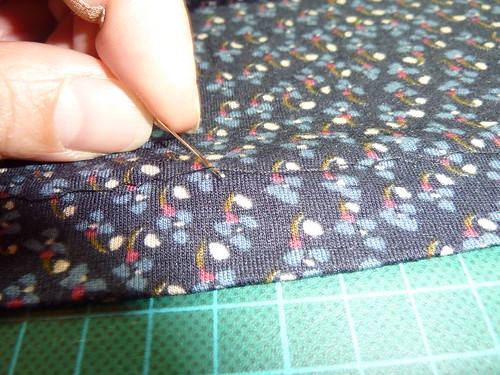
See an example below, of the typical problems I used to have with skipped stitches (from way back in 2012 when I sewed up Zoe's FREE vest pattern).
 |
| Opps - can we say "Skipped stitches?" |
Previously, I struggled badly with skipped stitches and tension problems, all of which resulted in nasty, loose, unsecured, badly sewn seams, and pulled, wavy distorted hems :-(. Sooo NOT a good look for your me-made clothing!
My PREVIOUS Solution...
I had until last night, been able to alleviate some of those problems to get "nearly" okay results by:
• using a Microtex Sharp 70/10 machine needle (I had tried Universal, Ballpoint, Jersey, & Stretch needles, but counter to universally accepted advice 'Sharps' worked best for me!)
• lowering tension on my upper thread (down from my usual 5 to 4),
• using a medium stitch length (usually 2.5),
• using a narrow width zig-zag stitch (to "look like" a straight stitch),
• plus placing pieces of paper underneath the fabric (to aid it's movement through the machine - as it is sandwiched between the presser-foot from above, and by the feed-dogs beneath it).
• using a super slow speed on the foot-pedal.
NOW, What I Do Instead...
I am now able to do the following to get a straight-stitch on anything from lightweight 100% Viscose knit fabrics, to Cotton/Lycra Jerseys:
• using a Stretch 75/11 machine needle,
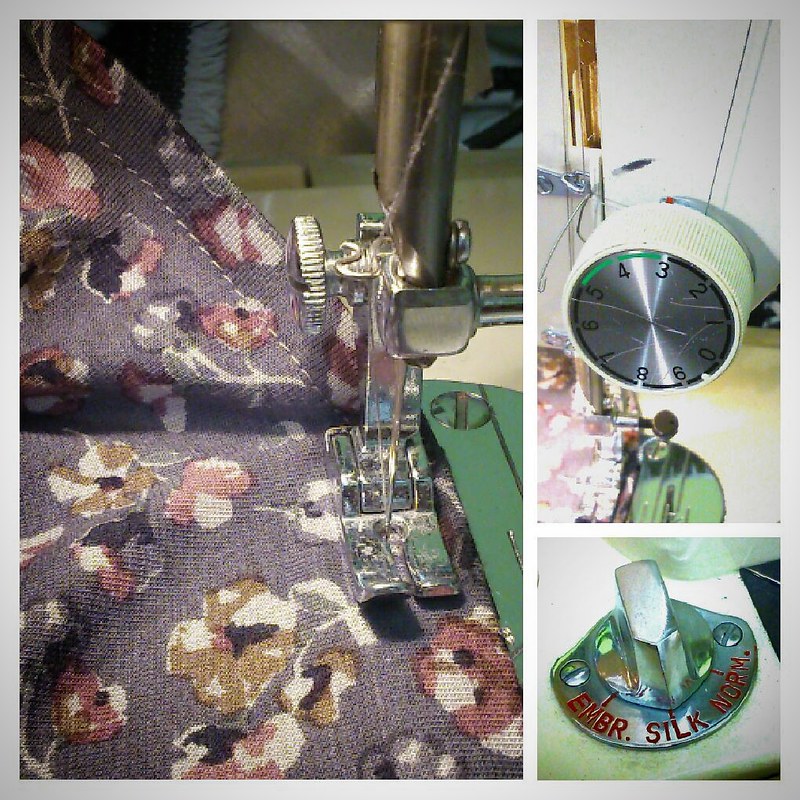
• lowering tension on my upper thread (down from my usual 5 to 3),
• using a longer stitch length (increasing from 2.5 to 3.5-4),
• using a straight stitch,
• plus lowering the 'Feed Dogs' to the 'Silk' setting (so the machine "grips" the fabric more gently as it passes underneath the Presser Foot during stitching).
• using a moderate-to-normal speed on the foot-pedal.
And, these new-to-me settings don't require me to carefully rip out pieces of paper, or to painstakingly use my tweezers to remove miniscule tufts from the seams ;-) And, the stitching is completed much faster too - bonus!
My Thoughts on What Went Wrong Before Previously...
I'm assuming (and this is just me theorising here) that on my old settings where the 'Feed Dogs' were on the 'Normal' setting; that perhaps the machine was gripping the fabric too tightly? Maybe, that "grip" was causing it to slightly stretch/pull and alternately sometimes allow the jersey fabrics to get stuck just a little bit. Therefore, the irregular movement of the fabric passing under the presser-foot caused missed and skipped/ill-formed stitches. With the 'Silk' setting the grip is less-firm, and I believe that the fabric now moves through evenly and smoothly - thus allowing for a good stitch-formation to occur. I also believe that the reason I previously had to use the Microtex Sharp machine needles was, because the fabric was being stretched under the too-tight grip in some instances, it was effectively overly taut (like a trampoline!) underneath the path of the descending needle. So, the rounded-tip of Ballpoint etc. style machine needles simply "bounced" off of the tight fabric surface - as it was unable to pass through the fabric easily = missed stitches!!!
*Oh, my how I DO covet a Coverstitch machine but with x2 Overlockers, x3 Novums, x2 Brothers, and a Singer hand-crank in my life already I really don't have the space for one *sigh*


.jpg)


.jpg)


