
 |
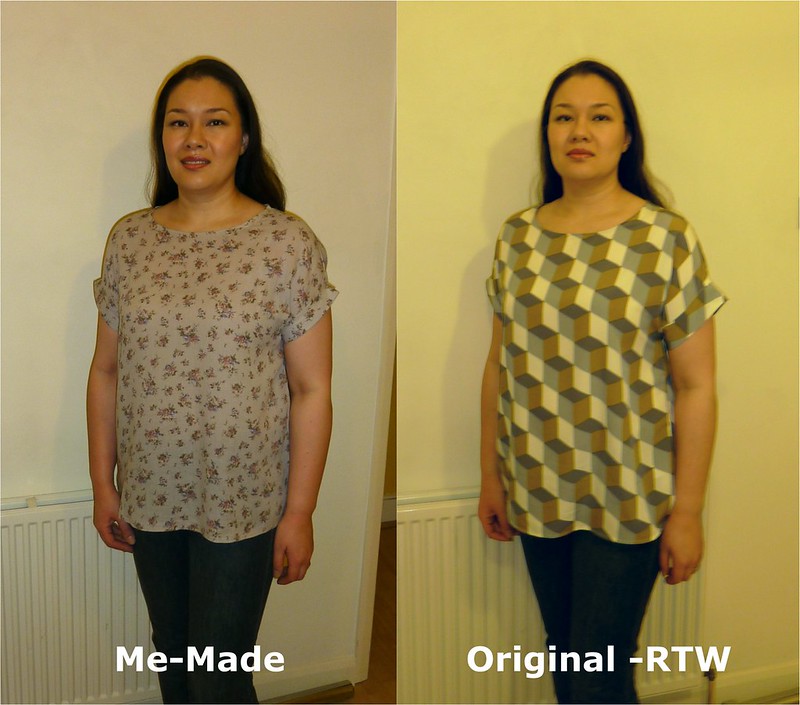
| Photo on the left taken at 7.30am, the one on the right at 7.30pm same day (hence the tired eyes LOL!) |
 |
| Inspiration: RTW Top from Marks & Spencer |
It was very easy to make the pattern - I just employed common sense when tracing the pattern pieces onto paper from the original garment. I didn't even need to consult my 2 books on coping RTW garments Patterns from Finished Clothes: Re-creating the Clothes You Love or Patternmaking for a Perfect Fit.


2 great books on creating patterns from your existing garments
There are only 3 pattern pieces bodice-front, bodice-back, and the sleeve-cuffs... unless you count a moderate length of beigey-coloured 12mm (½") width single-fold bias binding that I used to bind the neckline - which I did following Jen at Grainlines fab tutorial "Getting Flat Bias Necklines" :) (last used to great success on my Spotty Scout Woven Tee top). In fact I only traced out the bodice once - and used it for both the back and front! Why you may ask? Well... the original M&S top is a loose, casual style - with no darts, and virtually no shaping. It's super easy to throw on for work, and in the right fabric can look smart - especially with neat little turn-back cuffs at the end of the short-sleeves. Therefore, front and back pieces are virtually identical - aside from the necklines... wonderful in terms of pattern tracing, and less work for moi LOL!
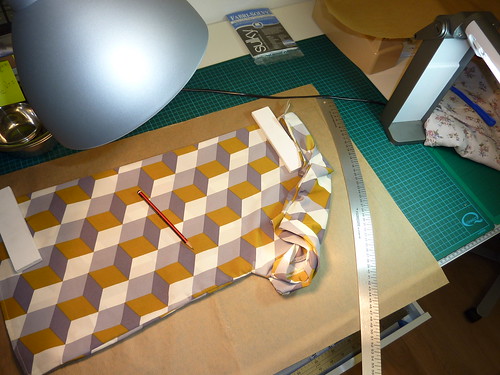 |
| Copying the RTW top onto parcel-paper |
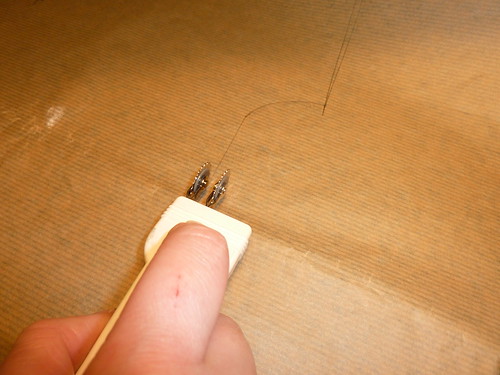 |
| Using my Clover Double Tracing Wheel to add the 1cm seam-allowances |
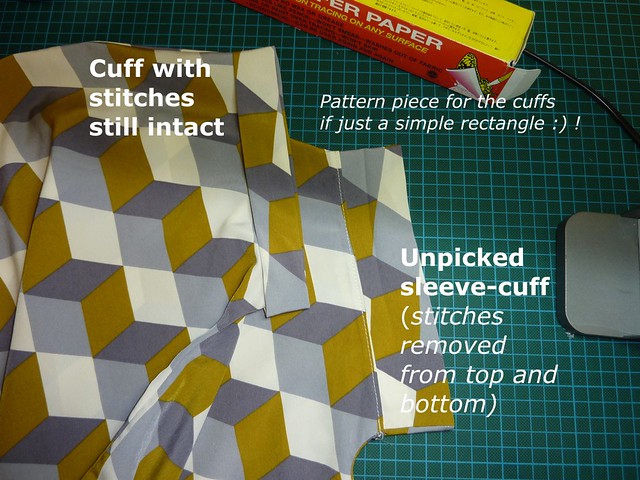
I made the seam-allowances (SA) all 1cm (3/8"), and the hem-allowance 1.5cm (5/8"). The pattern piece for the turn back sleeve-cuffs was very easy. I initially thought that the cuffs might have been shaped, or curved in some way - so I carefully ripped out the 2-3 retaining stitches with my trust seam ripper and had a look. They were just rectangles - yay! So, the pattern pieces are just 11cm x 42cm (4 5/16" x 16½").
TIP: I Found this handy site for converting between cms & inches
- it shows the imperial measurements in fractions ;)! You can still do it the old fashioned way:
X cm ÷ 2.54 = Y inches,
E.g. 10cm ÷ 2.54 = 3.93 inches (or the website says = 3 15/16")
or A inches x 2.54 = B cm
E.g 11 13/16" x 2.54 = 30.00375cm (i.e. the length of a standard classroom ruler ;)!)
(With 1mm = 0.1cm, 10mm = 1cm - in case you're playing around in millimetres too.)
Next, to decide which fabric to use. The original is 100% polyester - but in an almost silk-like drapey finish which I wanted to recreate as much as possible. Having seen Winnie's recent make I remembered that I had the same fabric already in my stash + extra bonus, it was already pre-washed :) (Winnie got her fabric in a swap with Jane - we both bought the same fabric for only £2 / metre at this lovely meet-up back in April 2012).
So, the soft lovely lightweight grey floral fabric it was then! (I don't know the fibre content but it's possibly got some viscose or cotton in in - as it doesn't feel artifical/polyester-ey or acrylic in anyway.)
Cutting out was interesting as the printed fabric was a bit poorly printing along one of the selvedges - but it was easy to avoid.
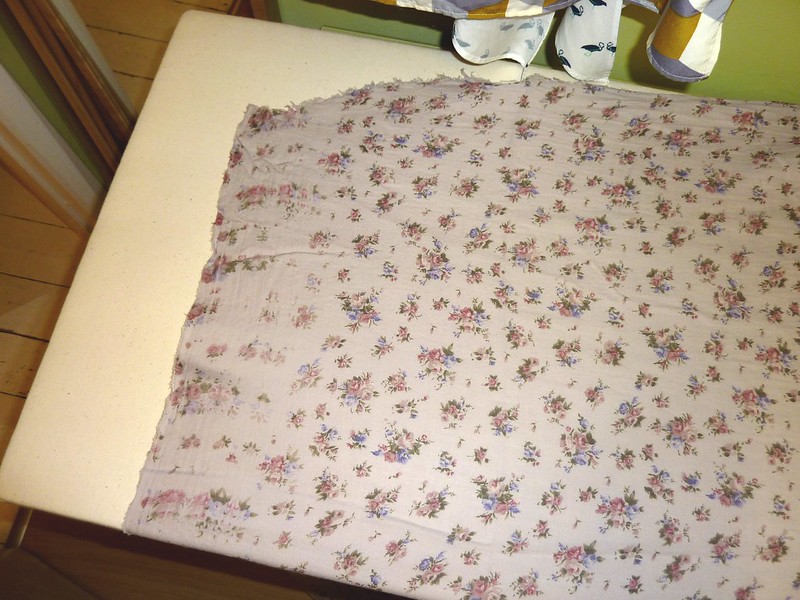 |
| Can you see the dodgy-area of poorly printed fabric down the left-hand side ? |
And, I've drawn a conclusion about my fabric cutting-style "I do not like cutting on the fold!". I find it fiddly to line everything up neatly, and I feel I can save fabric more if I use a single layer. So, for this make, and going forward I'm going to make sure and pattern pieces I use that say cut on the fold - that I trace out and tape on their matching mirrored missing side.
Due to the lightweight nature of the fabric I knew that I'd need to stabilise the neckline, shoulder-seams (front + back - as I was concerned about tearing), thicken-up the sleeve-cuffs (so they don't flop down and get all narrow/wrinkled and unsightly looking) and possibly beef-up the 2 simple little side-vents a bit too.
So, I did some test samples with various fuseable, iron-on stay tapes in my stash (utilising my trusty iron + point-presser clapper to ensure good results) to check for:
a) durability (I didn't want them to bubble, or warp, or come off as soon as I glanced in their direction LOL!)
b) colour match (NB: the fashion fabric is light weight - so there's the possibility of show-through from underneath)
c) weight (as I want added strength, but not stiffness!)
 |
| The different knit fusible stay tapes |
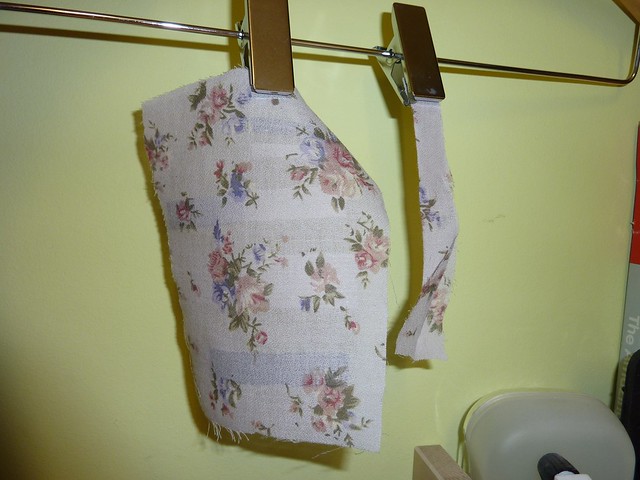 |
| Fused fabric sample |
The best in the end was the Ivory tape from Sunni. I cut it into narrow half-width strips; all the better to reduce it's visibility from the outside. Due to the flexible-nature of the knit it was very easy to apply around curves, without any need for clipping - yay!
As I now prefer to do it this way; I do not cut out the neckline from the rest of the fabric until I really have too. I feel it is easier to handle, and far less likely to warp and stretch out of shape this way (especially on this delicate lightweight crepe fabric). To my mind, it saves me a headache and what little fabric I would of saved had I gone ahead and cut it out the "usual" way I can live without ;) LOL!
So, I fused along the stitching line - saving the cutting out of the neckline for later (until after I've sewn the first stage of applying the bias-binding facing to the outside of the neckline - which is just before turning it to the inside and stitching it down again).
Next up... Part Two - Overlocking and Vents


.jpg)


.jpg)


.jpg)


Wow! You make this look so easy! This is something I've been wanting to try for a long time with some of my fave RTW clothing. I can't wait to read part two. Thanks for sharing!
ReplyDeleteNice looking and fitting top Claire.
ReplyDeleteI actually like your copy better! :)
ReplyDeleteYour top is so much cooler.. I love it x
ReplyDeleteThanks for the lovely comments ladies :) I've already cut out a plain black cotton version ready to sew up this month too.
ReplyDelete