
Subtitle: Or, how I fudged my way around altering the size of the trouser waistband pieces!
Nope, I'm not becoming an *Alan Partridge impersonator, nor am I attending the pop concert of that 80's **Norwegian Pop Band LOL!


Not what I am doing
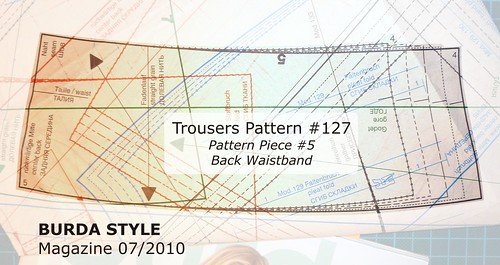
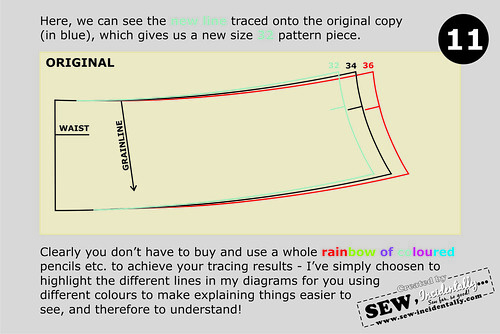
I was staring at the pattern pieces for my trousers debating to myself about "properly" grading up the size beyond the maximum 88 marked on the pattern - when I noticed (and I'm sure I'm not the first person to spot this) that on multi-size patterns the increasing sizes align next to one another in a uniform sort of pattern (patterns within patterns - who'd of known it?!).
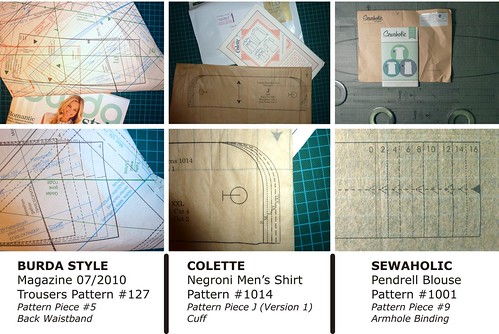
Multi-Size Patterns by different companies
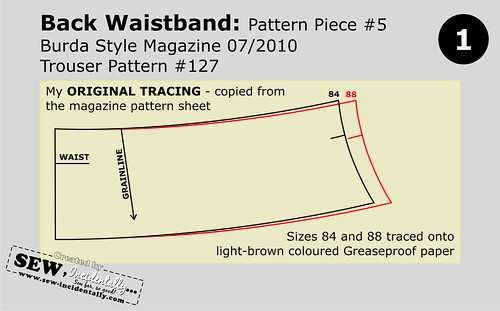
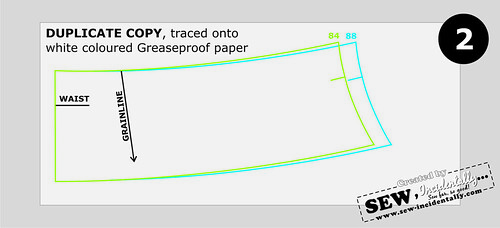
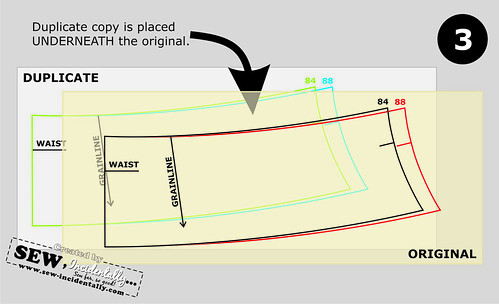
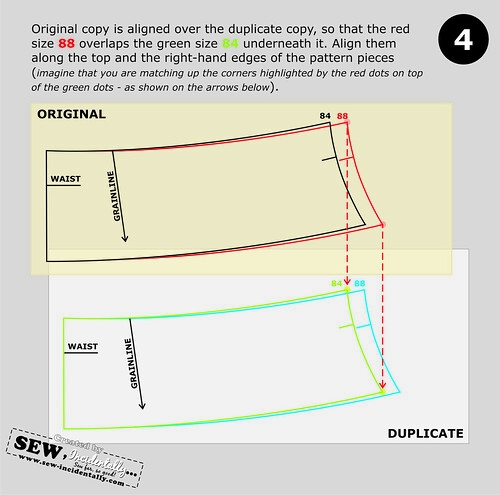
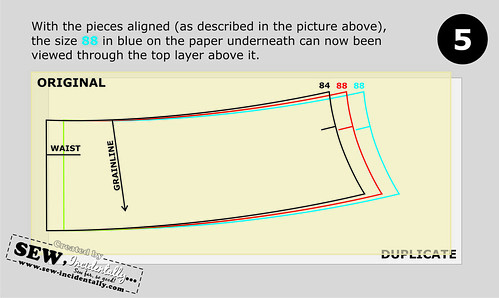
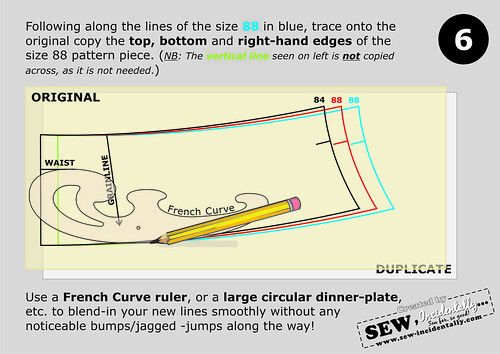
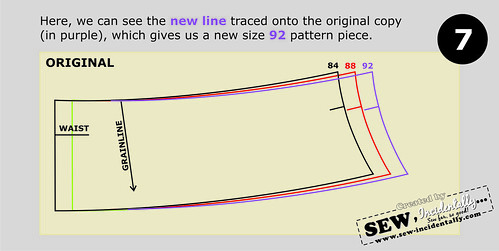
Tracing & Overlaying to Add Increased Width to Pattern Pieces
| Tools/Equipment: | Supplies/Materials: |
• Pattern for your garment • Pencil • Eraser • Rulers - straight & curved (depending upon the shape of the pattern piece) • Flat level surface to work on • Good lighting | • Tracing Paper |
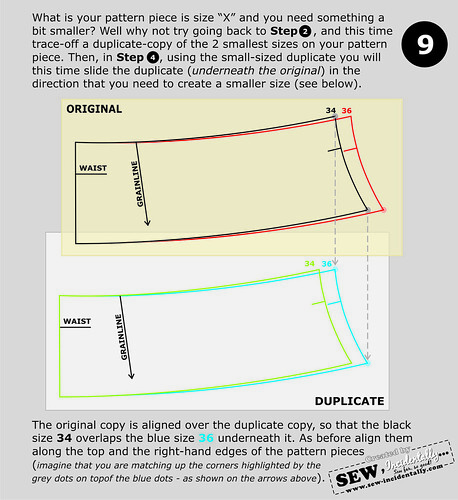
Tracing For a Smaller Pattern Piece

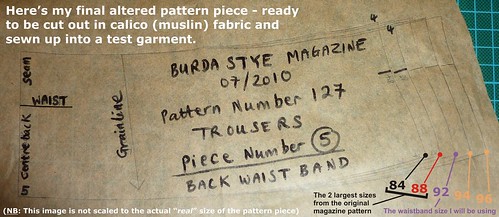
Oh, and here's how my pattern piece for the back waistband ended-up looking after my tweaking - not as pretty as the the colourful pics above eh ;) LOL?
**Mmmmmm.....Morten Harket is/was very lovely to look at though ;)


.JPEG)


.jpg)


Hi Claire,
ReplyDeleteJust found your blog, which is apparently new, so first, Congratulations! Grading patterns always scare me, so that "cheat" is fantastic. And your pictures are so pretty :)
Great tutorial! Thanks for putting the time into this!
ReplyDeleteHi Maggie, Thank you for visiting my blog :)
ReplyDeleteGrading looks scary - but I like a challenge, so I plan to use my book to grade-up a vintage 70's t-shirt pattern I recently bought on Etsy, so I will overcome the fear of grading soon (fingers-crossed)!
Melissa, Thank you - I kinda got carried away with myself over the pics, but now at least I cannot say I forgot how I achieved this "trick" if I need to do it again in the future - it's on the blog and safely saved now :)
Beautiful pics! The Selfish Seamstress had put a tutorial on Burdastyle at some point about grading down using a similar method, but your pics are much prettier! ;) (PS, sorry I haven't been commenting along, I swear I added you to my blog reader list but apparently not! :( )
ReplyDelete